Turning a Chisel Handle
by Curtis Turner
Round Rock, TX
This article originally appeared in our November 2011 issue of Wood News.
Note: click on any picture to see a larger version.
This is an easy project that can be the foundation for creating an entire set of matching
handles. Once you see how easy this project is, you might try your hand at making a matching
awl!
I was recently given an old socket chisel that was missing a handle. Before I start a
restoration project on a vintage tool, I begin with some research. It is important to know if
restoration will affect the value of the vintage tool. Research can also give you clues as to how
to replicate or restore the original. The maker's mark was Bailey Sag Harbor Tool, but I wanted a
little more information. I contacted Lynn Dowd of Dowd's Vintage and Antique Tools, who is an
authority on vintage tools. (See resource listing below.) Lynn confirmed that this 5/16" bevel edge paring
chisel was worthy of restoration. He sent me a photograph of handles typically found on this size
chisel. He recommended a handle in the 4"-5" range.
With the research complete, I selected a blank from which to turn the handle. In this case, I
chose jatoba. This is a hard wood that is suitable for use with a mallet. You should consider how
this chisel will be used when selecting the wood. If you are creating a handle for a paring chisel,
and the wood will never experience the shock of swift blows from a mallet, then you can expand your
scope of wood choices. Woods that make good handles that will be used with a mallet are: maple,
hornbeam, mesquite and any other hard, straight-grained wood. My absolute favorite chisel is a
Witherby 3/4", which I use for paring. This flea market find set me back a whopping $7! I turned a
new padauk handle for it that some would consider rather short for a paring handle. However, it is
a joy to use. I don't particularly like long paring handles…but that's my personal preference.
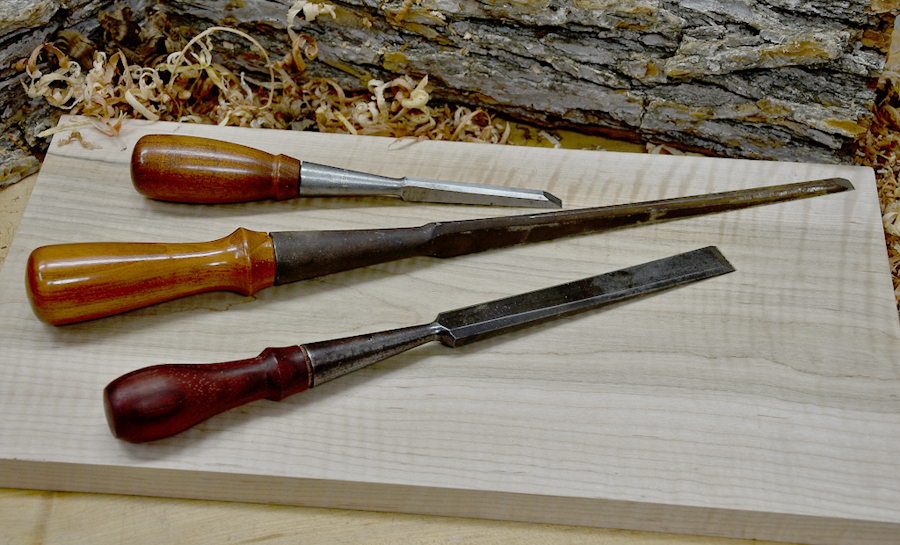
Tool choices
For this project I used a spindle roughing gouge (SRG) to handle the roughing work. I also used
several sizes of skews and spindle gouges, as well as a thin parting tool to remove the handle.
Turning the blank
When turning a handle replacement, select a blank approximately 2" square by about 6"-8" long.
Mount this between centers and turn down to round. Turn a tenon for your chuck. Then mount the
blank in the chuck and true up the blank. Inspect the blank for any defects as you turn. You do
not want any cracks, bark inclusions, or spalting in the blank. While interesting visually, these
create weak areas and are therefore undesirable in a tool handle.
Practice!!!
While the blank is oversized, take advantage of this opportunity to practice with the skew. Any
mistakes can be turned away.
Measuring and layout
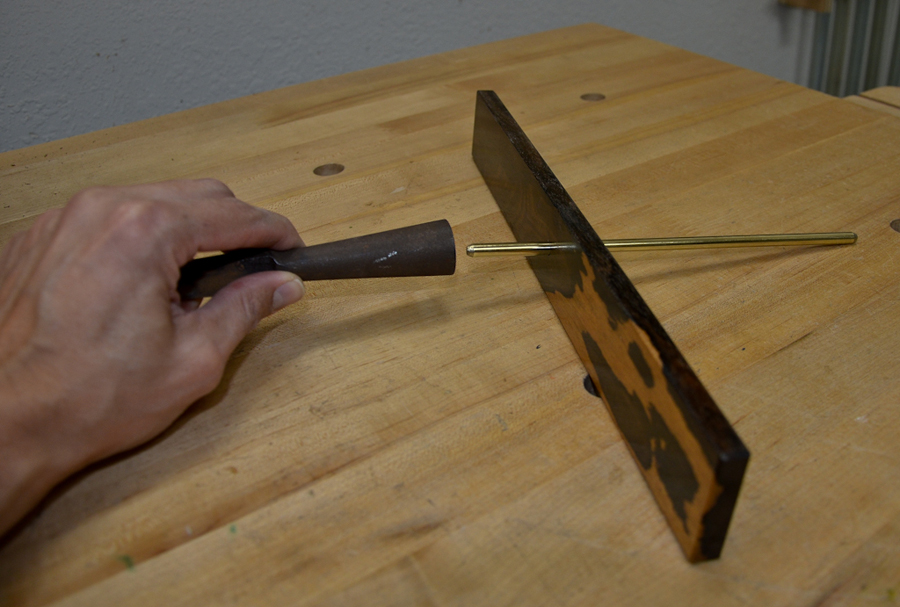
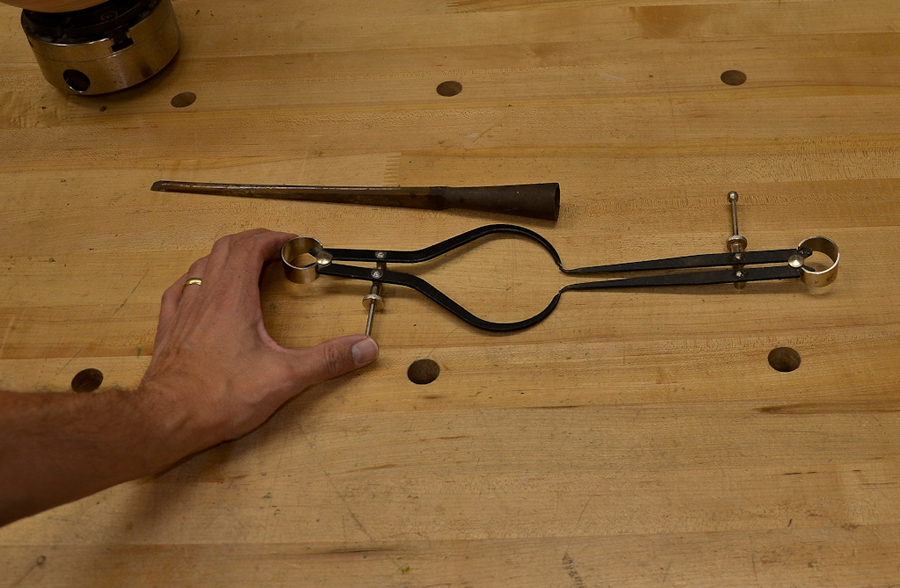
You will need a few additional tools to help lay out the dimensions of your handle. I used
inside and outside calipers, a shop-made depth gauge, and a ruler to determine the critical
measurements.
Note: click on any picture to see a larger version.
You should lay out the blank with the socket tenon on the tail stock end of your lathe. More on
this later. I started with obtaining the depth and transferring this length to the blank.
Then I took the inside maximum diameter of the socket. I transferred that measurement to the
outside calipers.
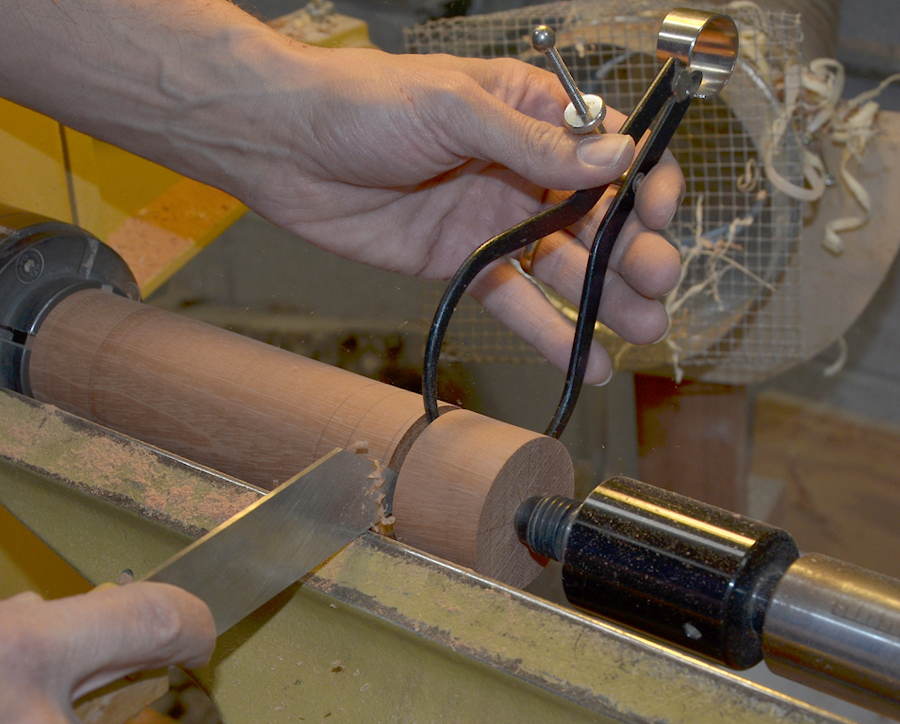
I parted down to the largest diameter of the socket nearest the handle. Next, I used the inside
calipers to measure the smallest diameter of the socket. I was lucky on this chisel. The socket
was large enough to get an accurate measurement of the socket bottom diameter. If you are
re-handling a smaller chisel, then a bit of trial and error works without resulting to aluminum foil
or sand casting!
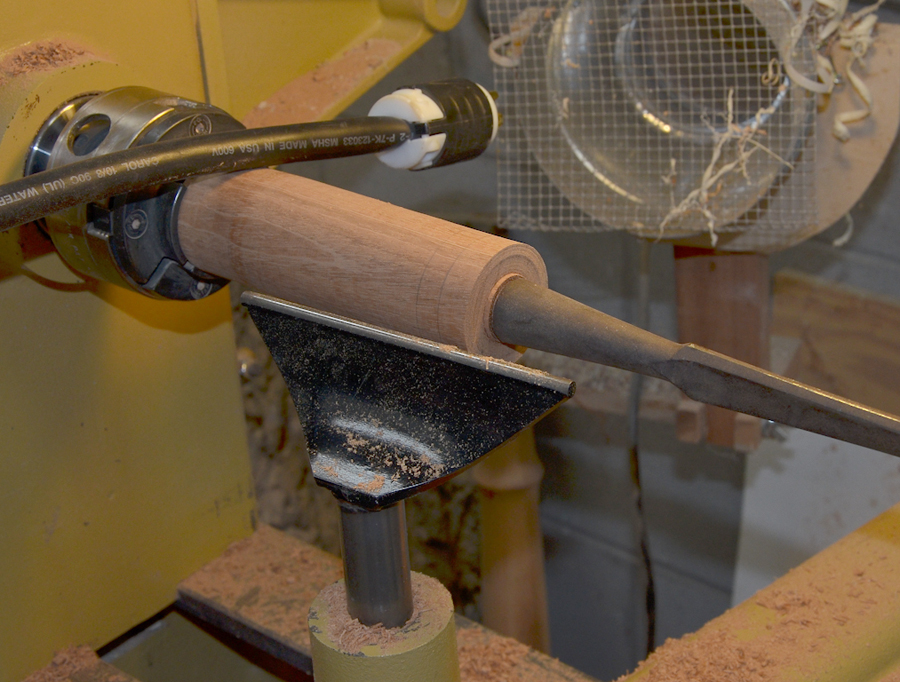
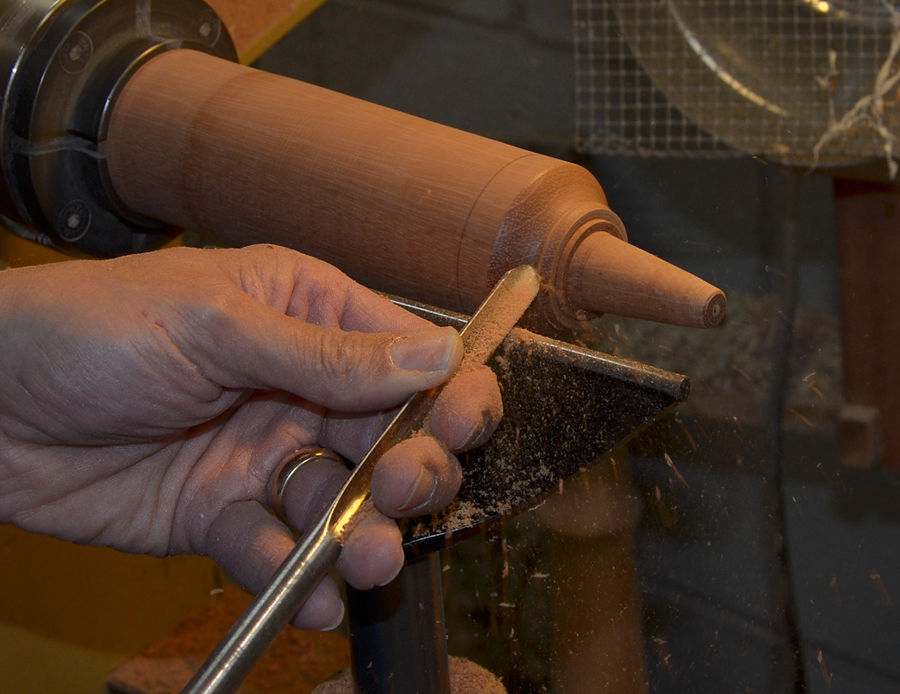
Now carefully turn the tenon to the required dimensions.
I encourage you to leave the tail stock in place as long as you can. As you are completing the
tenon you will need to remove the tail stock. This will allow you to test fit the chisel socket to
the tenon. This is done with the lathe OFF! You can rotate the spindle by hand while firmly
inserting the chisel. This will leave rub marks which indicate high spots on the tenon. This takes
some back and forth testing and removing more wood. The goal here is to sneak up on a tight fit.
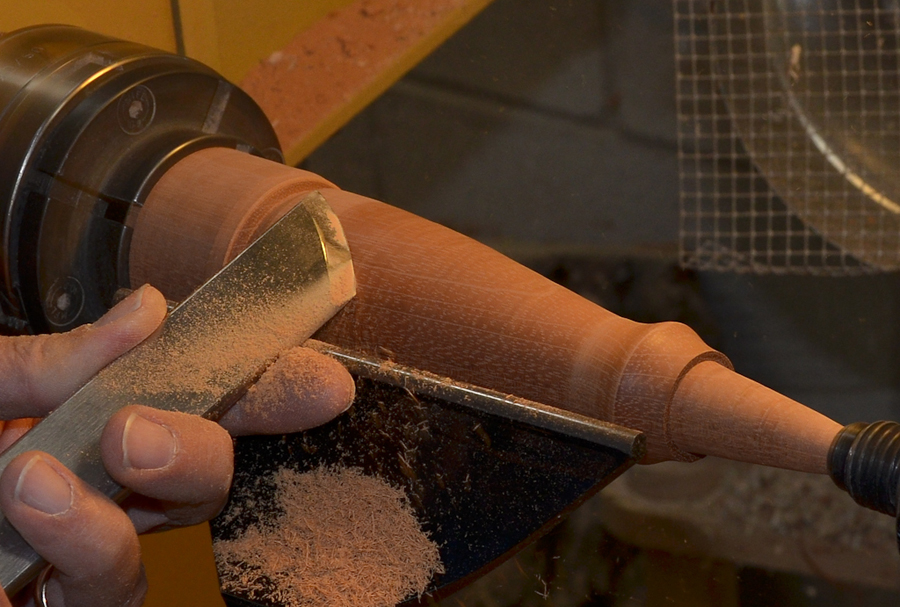
Next, you will need to shape the collar or ferrule of the handle. This wood collar is
larger in diameter than the outside of the socket opening. You should leave a small amount of wood
between this and the end of the socket when pressed on the tenon. You will later seat the handle
once it is off the lathe. Therefore, you need a little room to drive the handle into place. This
also allows you to re-seat as the wood expands and contracts with changes in humidity.
Custom handle
Customizing the handle to your grip is the fun part of this project. The length, diameter, shape
and embellishments are all your decisions. However, if you are attempting to match an existing
handle then you will need to measure all changes in dimensions. You can add grooves and use a wire
to burn in lines. Note: attach the wire to two wood handles. Never wrap wire around your fingers to
burn in lines. Can you guess who will lose in this battle?
You can use a range of tools to shape the handle. I used the SRG, spindle gouges and
skews. Try to achieve a clean surface free of bumps and dips. This will minimize sanding later.
The classic question: to sand or not to sand?
I prefer to sand enough to remove any tool marks or imperfections while the piece is still on the
lathe. For a working tool, I don't sand beyond about 220 grit. You can sand as fine as
you prefer, however, you may lose some grip if you make the handle super smooth. If this is a show
handle, then sand to a finer finish. I often use
Waterlox
or
Watco
as my finish of choice for tool
handles. This can be done on or off the lathe. However, any oil finish is fine. A simple wax
finish also works and is easy to replenish.
Removing the handle
Once you are satisfied with the fit and finish, it is time to part the handle off the lathe. I
used a thin parting tool to accomplish this. I left enough material on the handle end so I could
hand sand the end into a pleasing comfortable curve.
I buffed the handle with the Beal buffing system after the finish dried.
Next time, don't balk at a flea market chisel that's missing a handle. With little work you can
put a tool back into service for another 100 years!
Resource:
Dowd's Vintage and Antique Tools
Curtis is a former President of
Central Texas Woodturners, a member of the
American Association of Woodturners, and a member of
Fine Woodworkers of Austin. Curtis teaches and demonstrates nationally for Lie-Nielsen Toolworks. He also teaches for TechShop. He owns a studio where he teaches and works. Curtis lives in Central Texas with his wife and four young children. Take a look at his website at
www.curtisturnerstudio.com or visit his
Instagram: tx_planes.