Shop Assistants - Overhauled!
by Curtis Turner
Round Rock, TX
I finally decided to make good on my promise to upgrade a few of my shop-made tools. These are
trusty shop assistants that I have used for years. I never think about them -- until I need them.
They were made quickly, from whatever material was available at the time. Every time I use one, I
think to myself, "I can make something better than that," followed by, "I'll rebuild it after I
finish building the pull-out shelf for my wife." (What a good husband I am.)
Well, we all deserve to have a few nice shop-made tools, right? I have outlined a few of my
favorite "assistants" and their path to an overhaul.
Note: click on any picture to see a larger version.
One of my most used shop-made tools is a depth gauge. I am sure I made this right after I blew
out the bottom of my first bowl. You see, without a means to gauge the inside depth of a bowl, box,
or hollow form, you are just guessing where to part the piece off the lathe. Guessing usually
leaves the bowl with an extra thick base, or cut so thin you end up with a bottomless bowl.
The original
The original was made from a 1/2" piece of Baltic birch plywood, about 18". The dowel was a length
of 1/4" oak. This gauge is wide enough to mark the bottom on large bowls and platters. However, its
size was cumbersome on smaller pieces.
There is no shame in making a marking gauge from scraps. No one will see it...other than the most
critical person you know. So treat yourself to a little bling this holiday season.
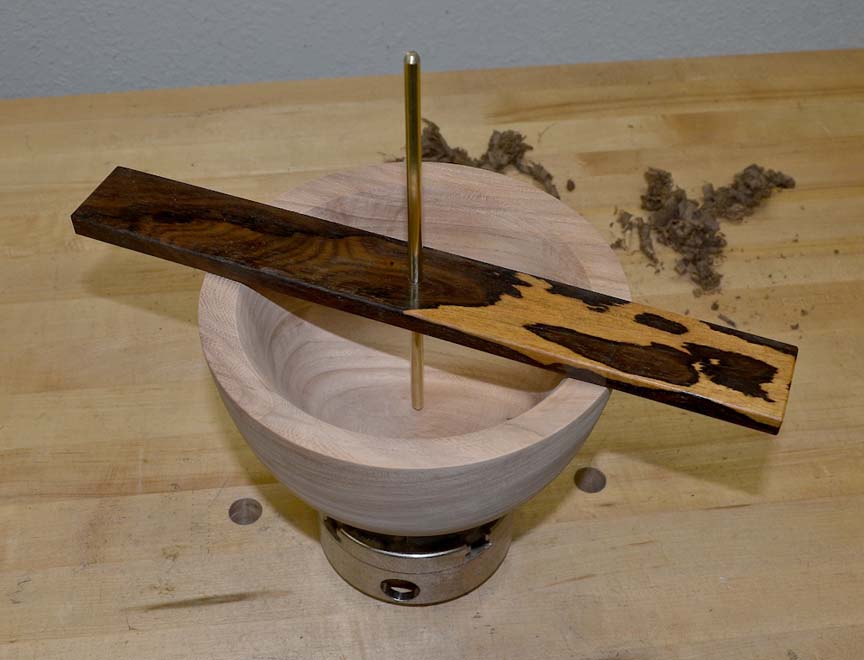
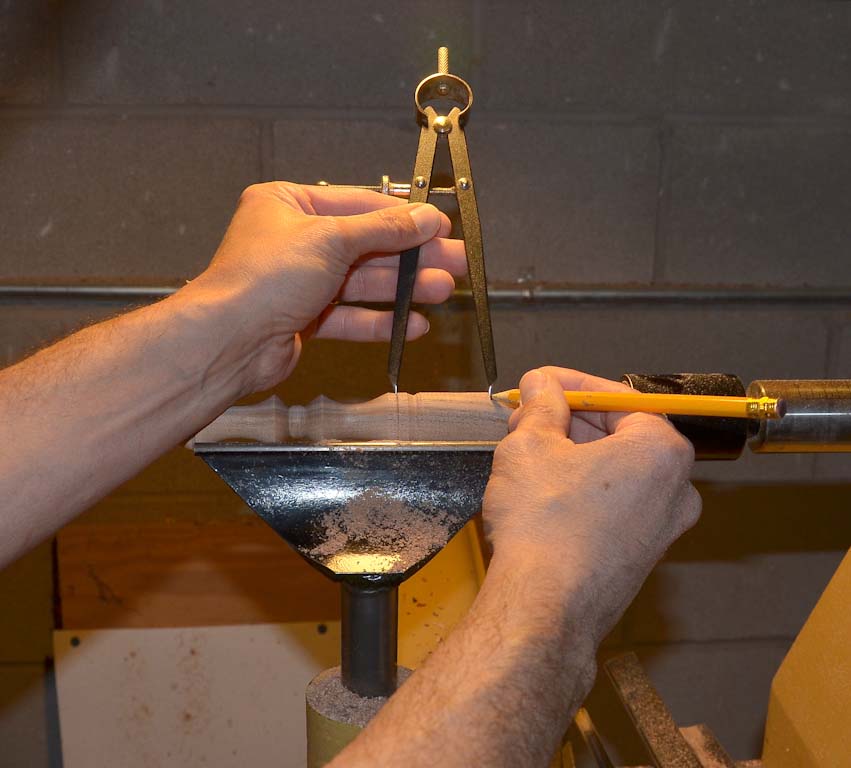
How to construct
The goal here is to create a gauge that can span your work piece, and allows you to slide a dowel
or rod to touch the inside bottom of your turning. This depth can then be transferred to the
outside, allowing you to mark the inside depth. Then you can mark the outside bottom with any
thickness you require.

|
|
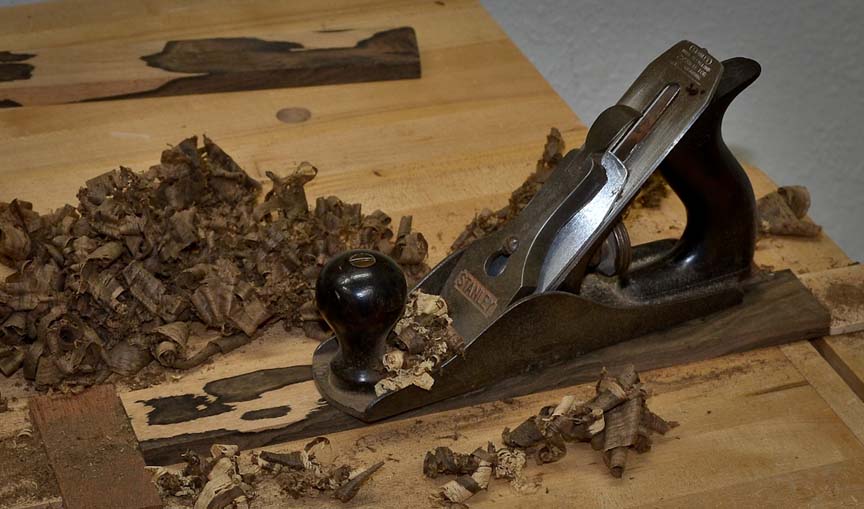
First, I selected an interesting piece of zircote that was too small to be used for anything
else. This piece bounced around my studio for years, and deserved to be put to good use. I
crosscut to a length of 13-1/2". I used hand planes to joint and smooth all surfaces. I used a
Lie-Nielsen
#62
and a vintage Stanley #3 to square up and smooth this piece. I also used
a
Lie-Nielsen
60-1/2 block plane
to chamfer all edges. I then marked for center and drilled a 1/4"
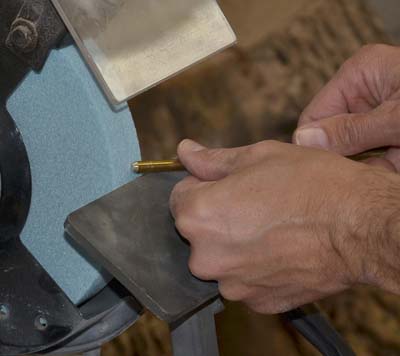
hole. I opted to use a 1/4" brass rod to dress up this tool. I was not able to find this size brass
rod at my home centers. I was, however, able to find it at a metal supplier that stocks all kinds
of round, bar and flat metal stock. I cut the brass rod to 8-1/2" long. I then chamfered the ends of
the rod on a dry grinder.
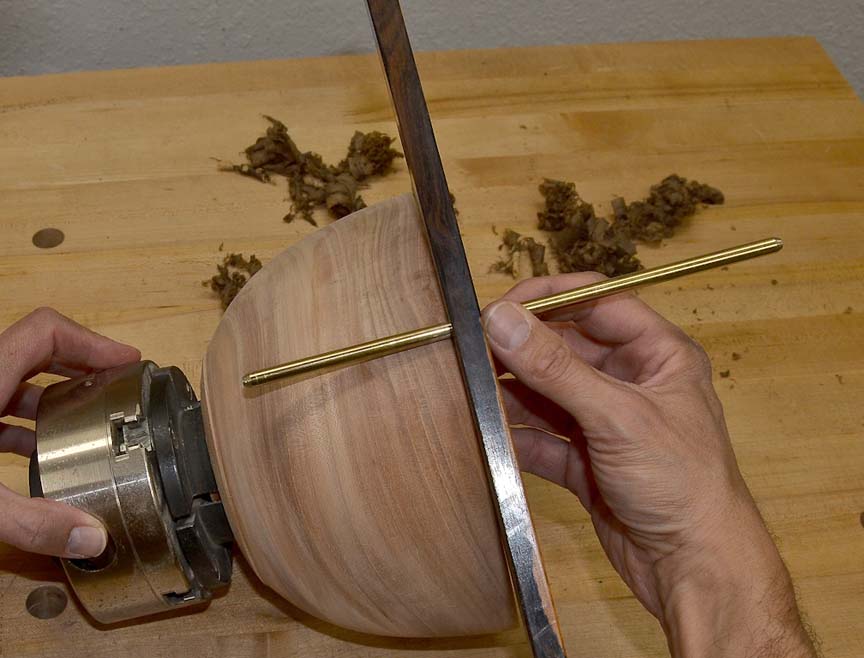
This gauge is simply a tight fitting rod that slides through the flat stock. You could take this
a step further and add a thumb screw or knurled knob to pinch the rod, to more securely hold the
measurement. However, I have never had an issue with the rod slipping and losing the measurement.
For additional visual interest, you could add brass wear strips on the wood. I may even make a mini
gauge with some of the leftover brass stock...right after I finish that pullout shelf for my
wife.
Burning lines
The next shop-made tool is quite simple. It is a wire holder used to burn decorative lines into
turnings. It is very important to use some type of handle to secure the wire. You should never
hold the wire in your hands. Serious injury WILL occur. This project is very simple and can be
completed before the Super Bowl pre-game show is over.
How to use
The wire is placed into a groove, and held down firmly while the piece is spinning on the lathe.
The friction heats up the wire, and burns in a line. The wire is a simple, widely available steel
guitar string mounted on the wooden handles. I have found .010" and .016" sizes to be most
useful.
I am actually on my second set of handles. The first set was made from two incredibly short
pieces of a 1/2" dowel. They were, frankly, quite a disappointment. One day I had a minor epiphany.
I said, since I am a turner, I should make and use some nicely turned handles. So I turned a set
out of mesquite. They work better than the pieces of dowel, but I found them to still be a bit on
the short side for comfortable use. It was time for an overhaul.
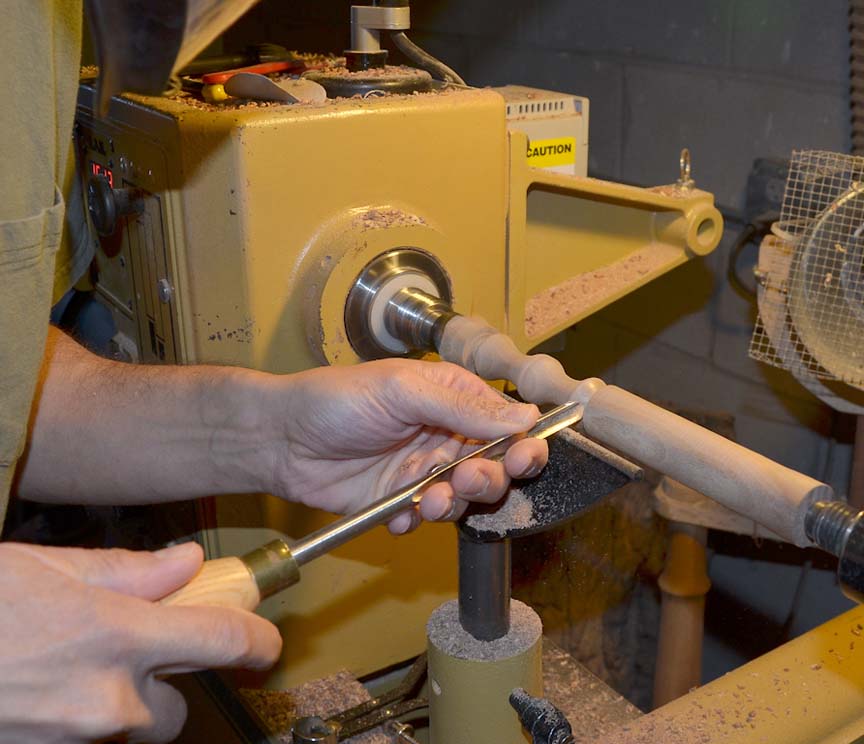
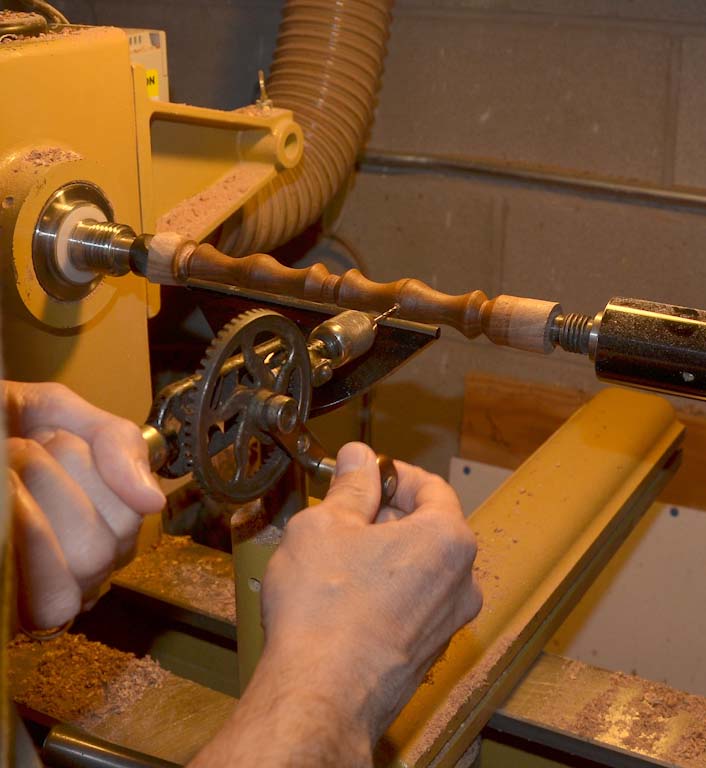
I chose a walnut blank about 1" square by 8", and turned it round. I made this set a bit larger
and created a profile I found comfortable. You can shape the handles to any profile you
like. Both handles could be done on one piece of stock, as I did for this project. Or you
can turn them one at a time. This would be a good project for you to practice matching profiles.
Once the set is turned, cut a v-groove in the center of each handle. This groove will receive
the wire. Then, drill a 1/16" hole while the handles are still on the lathe. The
wire will be threaded through the hole.
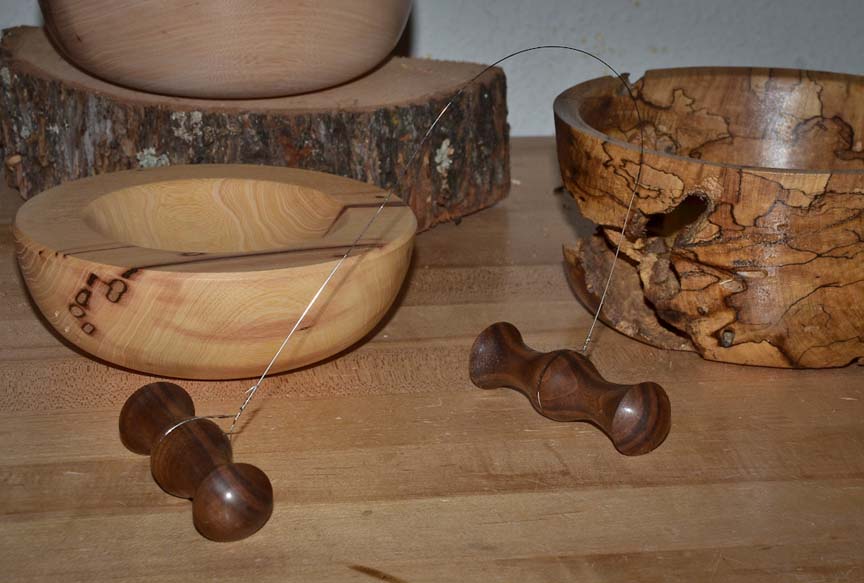
Once both handles are complete, you can sand and finish however you like. Next, part the pieces
off the lathe. Then thread the wire through the hole and wrap the wire around the handle. Twist
the wire around itself and bend the sharp end back, to avoid injury. I have found a 6" to 8"
length of wire to be a good working length.
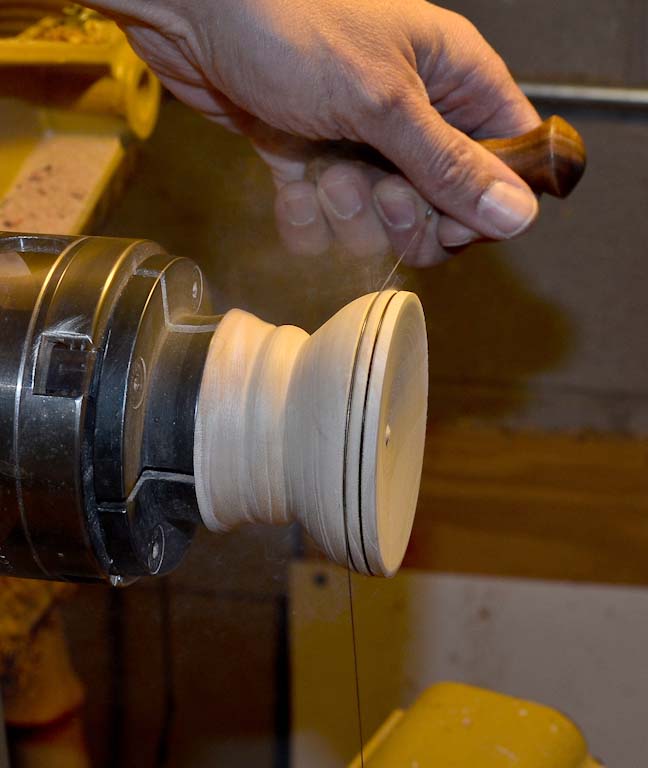
Testing – caution
Try out your new shop tool on a round spindle blank. Do NOT wrap the wire all the way
around the turning. Merely lay the wire down into the groove and apply firm downward pressure. You
will feel the wire start to grab the spinning blank as the friction heats up. You may even see
smoke. It only takes a few seconds to burn a line. Be careful because the wire will become hot.
Do not touch the wire. Place the wire burner in a safe place away from shavings to cool down.
I hope you all have a safe and enjoyable holiday season. I'm planning to work on those shelves
for my wife.
Curtis is a former President of
Central Texas Woodturners, a member of the
American Association of Woodturners, and a member of
Fine Woodworkers of Austin. Curtis teaches and demonstrates nationally for Lie-Nielsen Toolworks. He also teaches for TechShop. He owns a studio where he teaches and works. Curtis lives in Central Texas with his wife and four young children. Take a look at his website at
www.curtisturnerstudio.com or visit his
Instagram: tx_planes.