Turning a Door Stopper
by Curtis Turner
Round Rock, TX
Note: click on any picture to see a larger version.
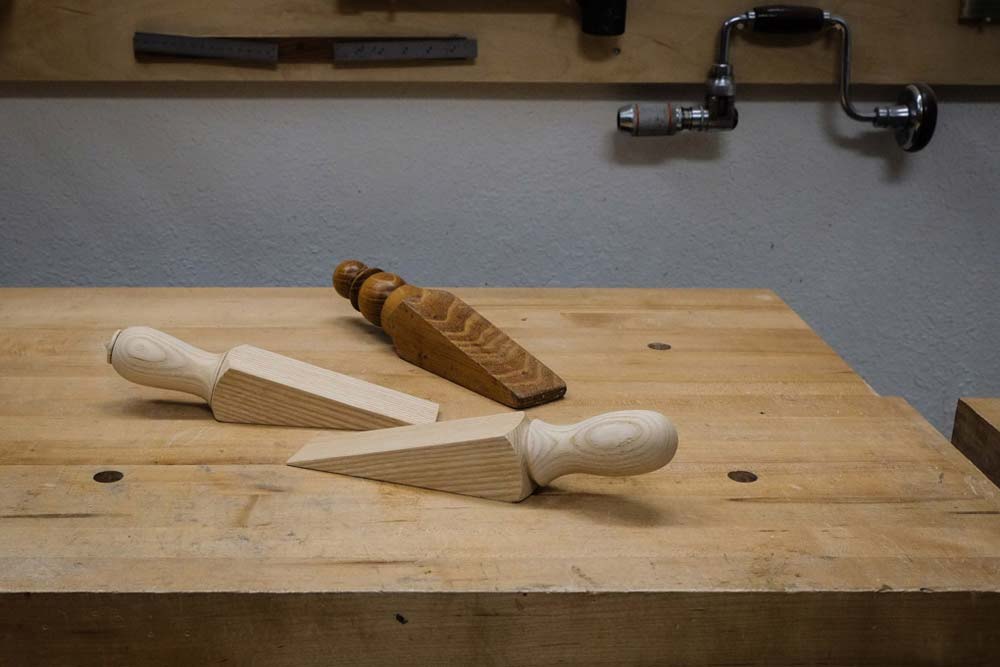
One day recently, I decided to open up my shop door to let in some Texas spring air. I realized as I placed my turned door stop under the door that this would be a good project to share. I turned this stop about 7 years ago. This month's project is as simple as it is useful. If you follow these tips, you will end up with two separate door stops; give one as a gift, or use both to hold open your front and back doors with style at the same time.
This spindle project starts with a straight-grained hardwood. Domestic hardwoods such as ash, maple, mesquite, osage orange and many others will work just fine. The door stop I made was out of locust, I think. It has held up well, and is so durable that it may never need to be replaced.
I began this demonstration project with an ash blank, about 1 7/8" x 15". It is important to cut the blank square on all sides. This will help your turned elements line up, which will help with later steps. This blank size will yield two finished door stops.
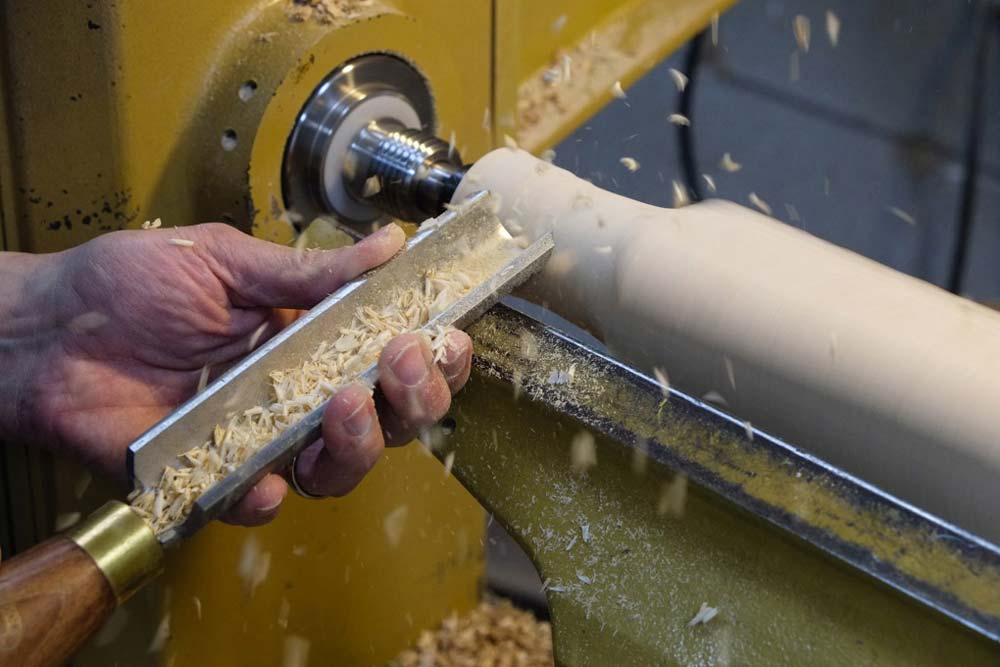
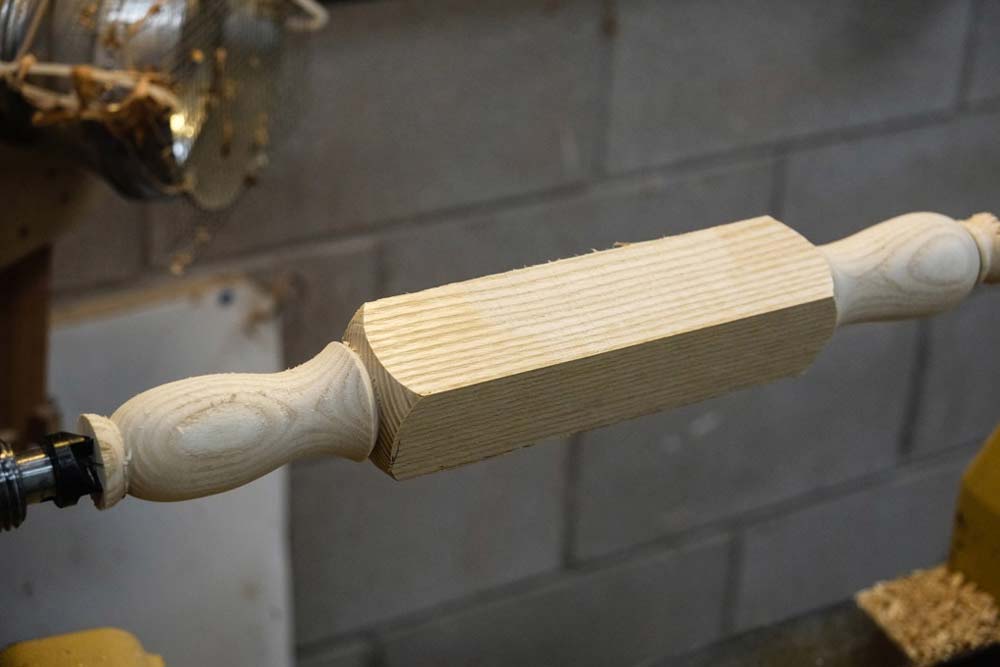
I mounted the blank between centers, and turned down each end with a large
Crown 1-1/4” spindle roughing gouge. The two ends will be the handles for the stopper. I sized the handles to produce a comfortable grip. I did not turn down the center of the blank. I used a skew with the long point down, to part into the square stock to transition into a rounded shoulder. This cut can be a bit intimidating if you are not really comfortable with the skew. Just take your time and slowly rotate the long point in an arc into the blank.
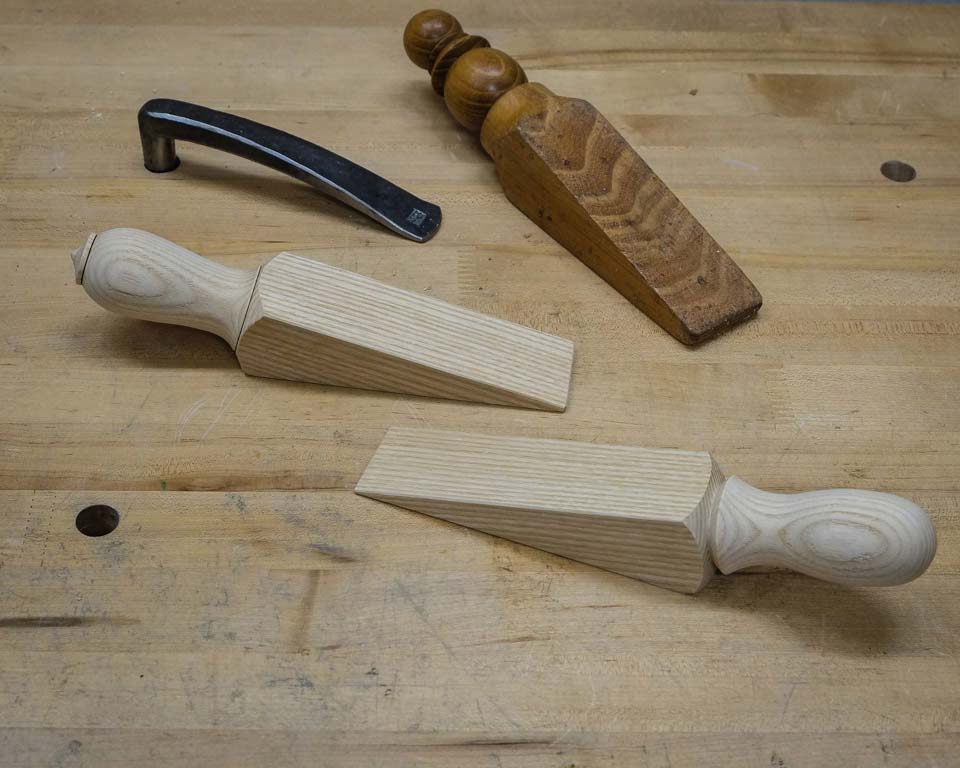
I continued to shape each handle to suit my preference. You can see each handle is simple and yet distinctly different. A relatively simple profile of the handle will be easier to keep clean than a highly detailed handle shape.
I left the handles rather beefy, because the door stop will encounter plenty of abuse. I often drop my door stop to the ground and kick it into place, or kick it loose to close the door.
Details
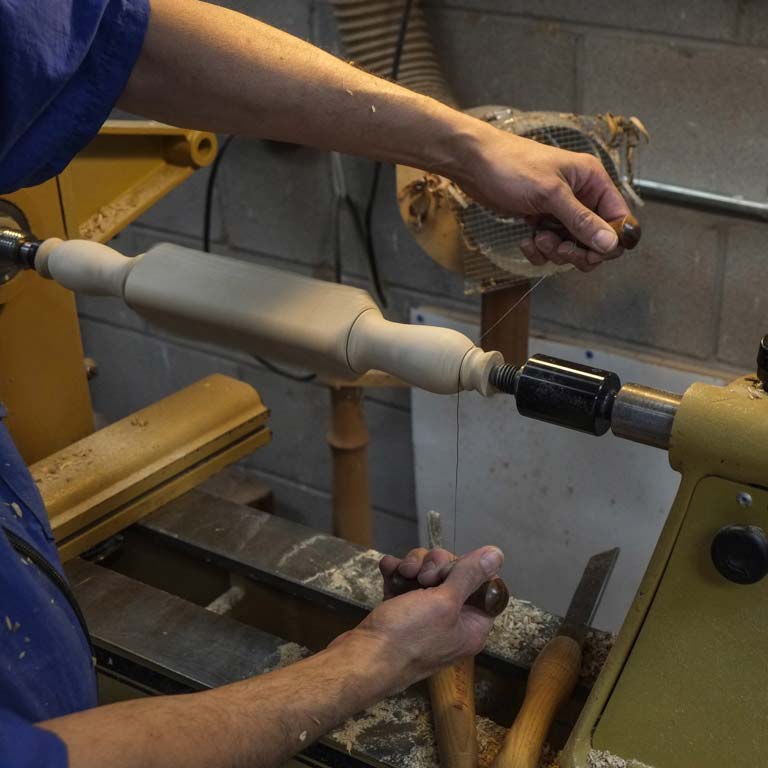
You may, of course, add as much detail or embellishments as you like. I chose to use a wire to burn in two lines on one handle. Never wrap wire or string around your fingers and hold to a spinning blank. You will create a serious injury. Attach the wire to wooden handles.
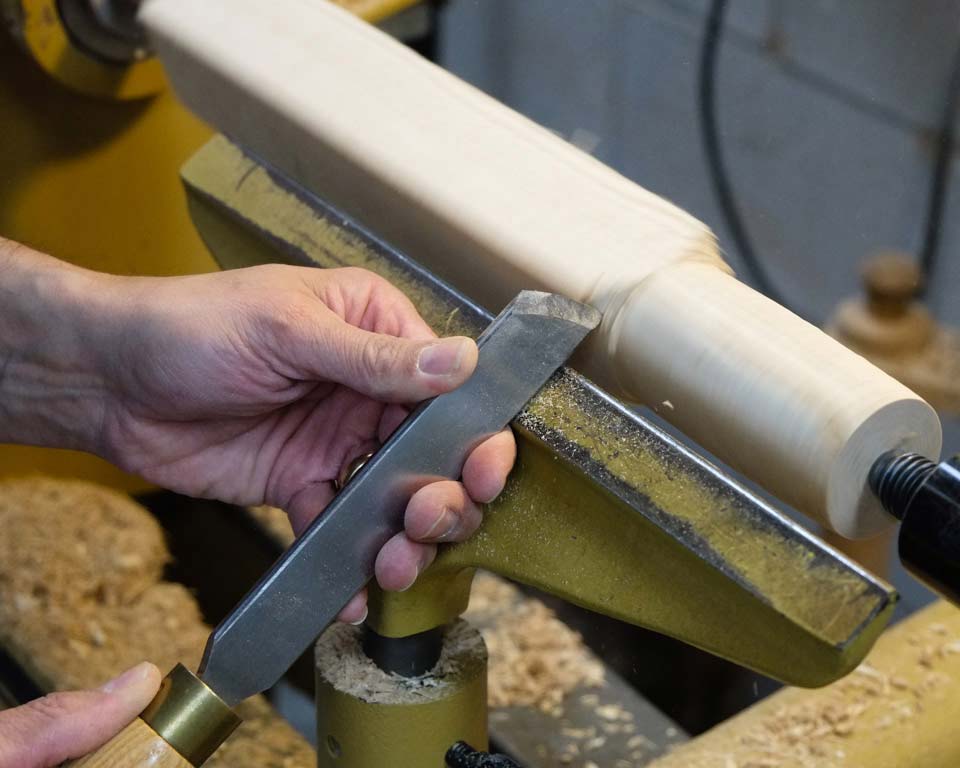
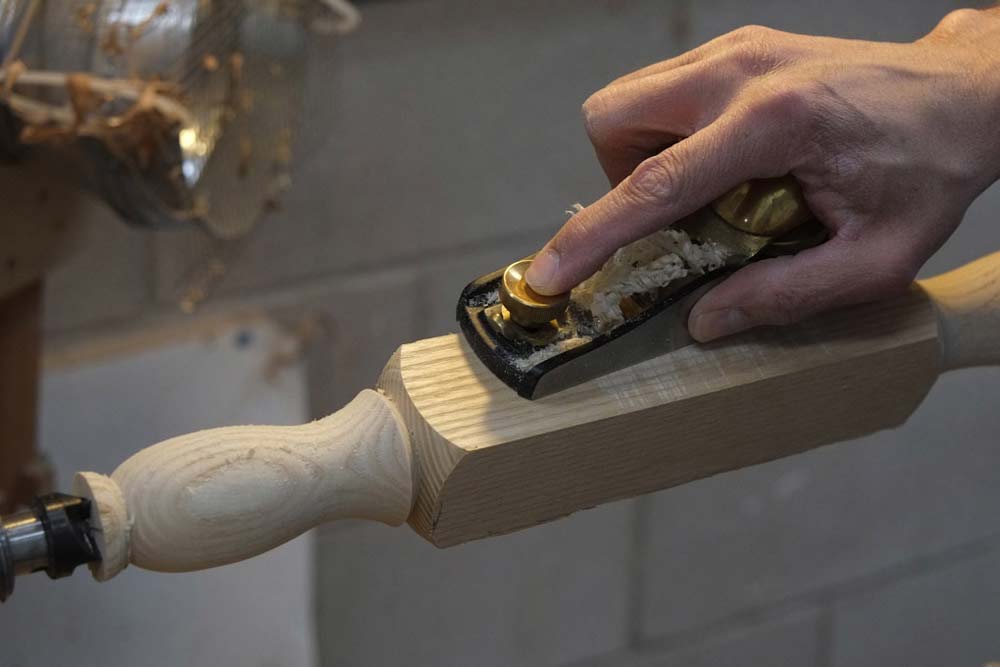
Hand planing on the lathe
I realize that hand planing on the lathe sounds like a strange combination of techniques. However, it is the easiest method for cleaning up the square sides of the stopper. Of course, do this with the lathe turned off! I locked the spindle to hold the turning firmly so I could use a
Lie-Nielsen 60-1/2 low angle block plane.
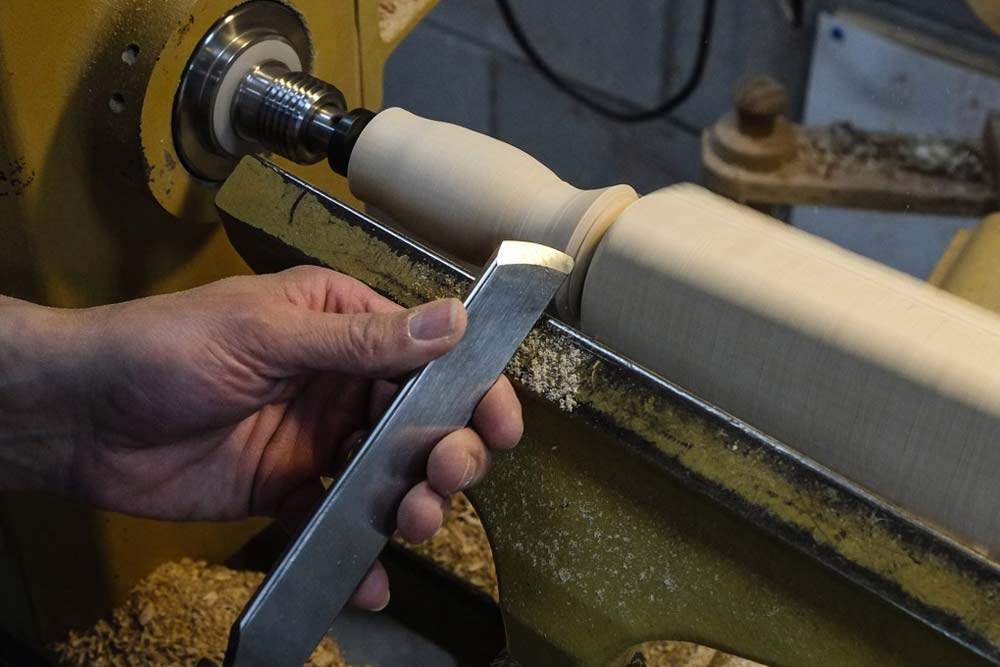
Parting off
After I completed the planing portion, I turned down both ends to about a 1/4" tenon. I then removed the turning, and used a small flexible saw to trim off the waste. Then I used a
Foredom TX
with a sanding attachment to refine both ends of the turning. Of course, you may sand by hand if you prefer.
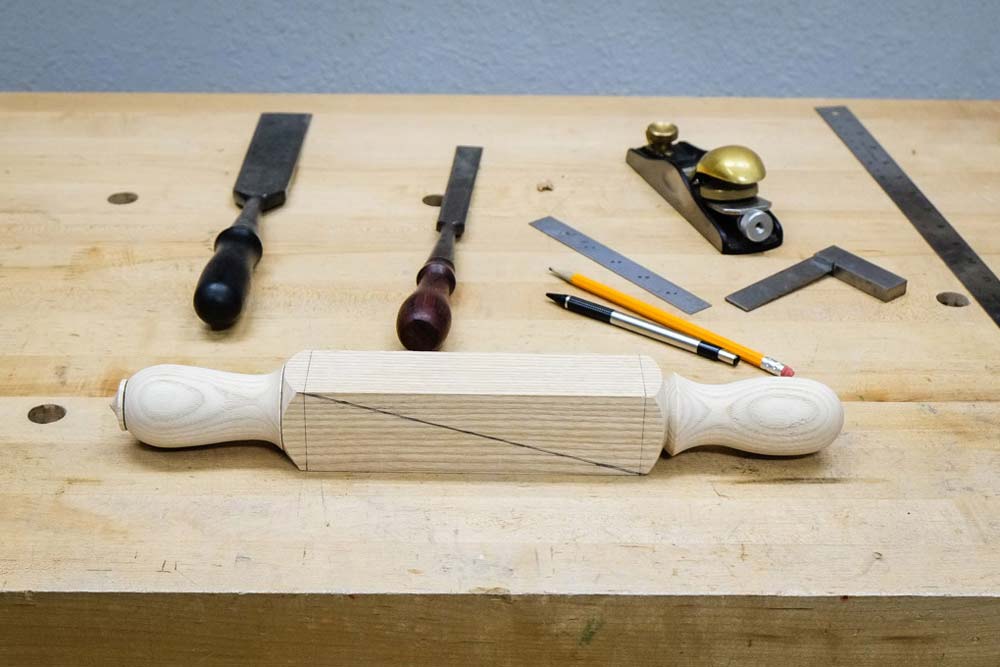
Layout for the cut
The next step requires carefully laying out a diagonal line to guide the cut that will separate the two turnings. I first marked a line about 1/4" below the shoulder transition. Then I drew a line diagonally from the intersection of the layout line from one end to the other. I wanted to leave some spacing from transition point. If I laid out the line from the corner, I would have cut away a portion of that detail.
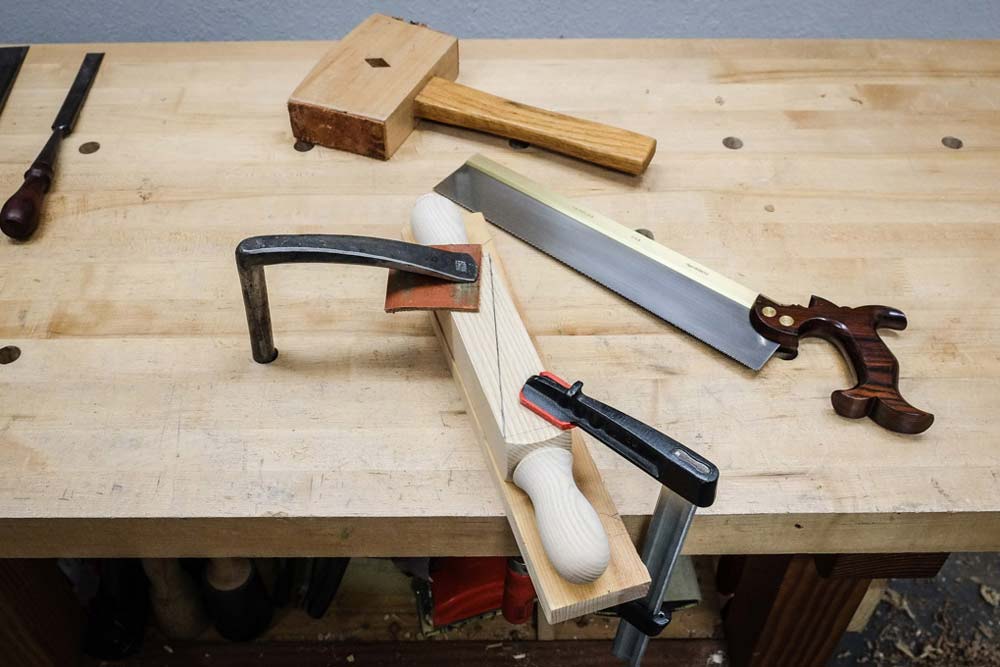
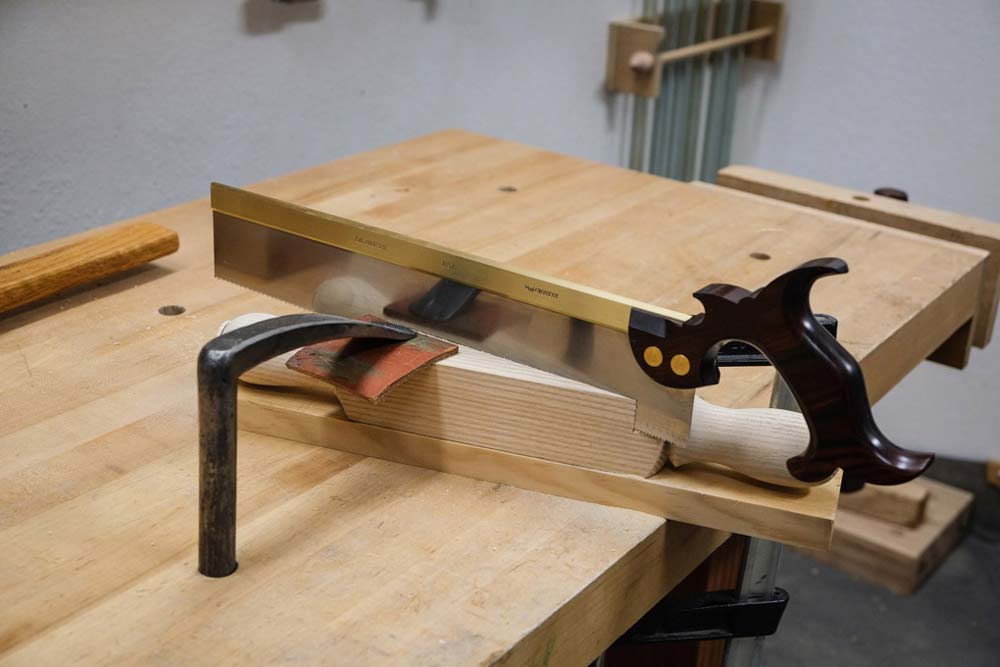
Securing the blank
Next, I put a scrap board under the turning, and then secured both to my bench. I used a holdfast and one clamp. I then used a crosscut saw to separate the two door stops. A bandsaw would also be an appropriate method to split the two door stops.
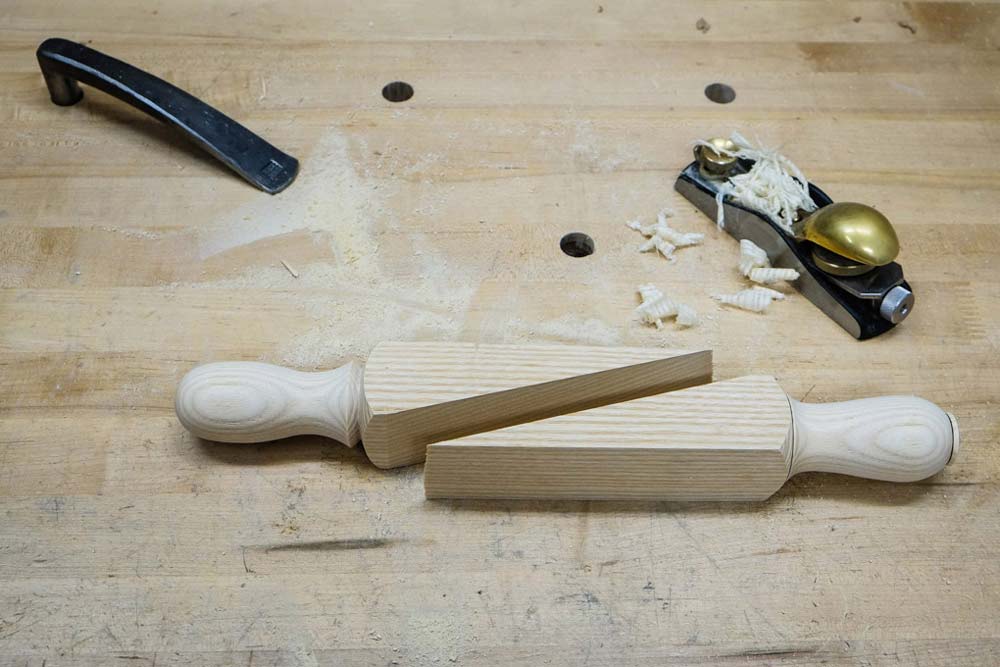
Then I trimmed off the wedge end of each door stop using a crosscut saw. I wanted a somewhat blunt end. If the wedge tapered to a feather edge, the blank would likely split during use.
Clean up
Finally, I mounted each turning in my bench vise and planed away the saw marks with a block plane. I also used the plane to chamfer each edge of the stopper. This will help minimize the risk of the edges splintering during use.
You may apply a finish at this point. Or, you may leave the door stop unfinished, to develop a natural patina with time and use. All that is left at this point is to open a door and wedge your newly turned door stop in place to enjoy some fresh air.
Curtis is a former President of
Central Texas Woodturners, a member of the
American Association of Woodturners, and a member of
Fine Woodworkers of Austin. Curtis teaches and demonstrates nationally for Lie-Nielsen Toolworks. He also teaches for TechShop. He owns a studio where he teaches and works. Curtis lives in Central Texas with his wife and four young children. Take a look at his website at
www.curtisturnerstudio.com or visit his
Instagram: tx_planes.