|
Mushrooms aren't just for eating! They can be cuddly-cute as well and make for a great turning project.

|
|
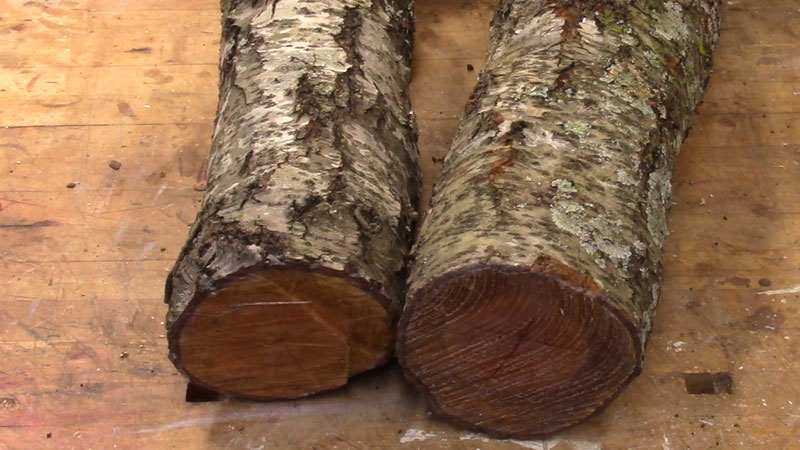
Figure 1 - Mushrooms on a log
|
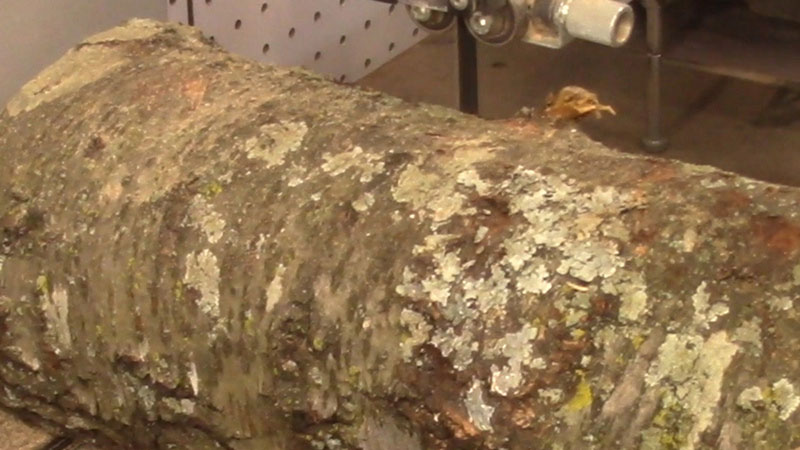
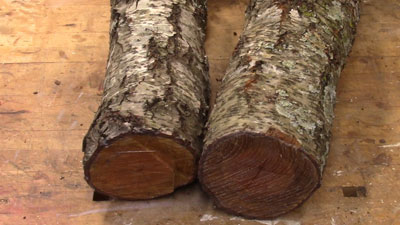
I recently got hold of some fresh cherry branches around five inches in diameter. They are very green, having only been cut a couple of months ago. This, of course, presents a slight problem of splitting during the drying process, especially with the pith left in the piece. However, I'm far too impatient to wait years for the branches to dry naturally – I'm turning this green and keeping my fingers crossed. (A few days after I finished this turning, the log developed a large split from the pith, but it still looks pretty good.)
|
|
Figure 2 - Green branches from a cherry tree
|
I'm starting with a piece about 5-6" long, cutting it off on my bandsaw.
|
|
Figure 3 - Bandsawing off a 5-6" section of log
|
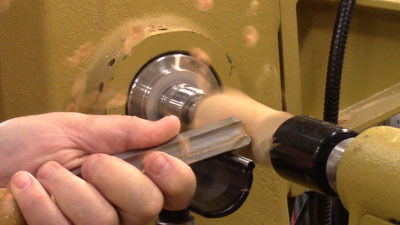
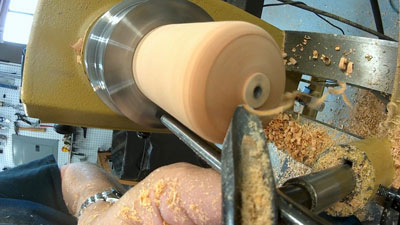
I'm going to turn the first mushroom on the end of the log - that is, as a continuous part of the turning. I don't want the mushroom on center, I want it off to one side, so I'll mount the blank between centers, but off-center on the end of the log. I'm hoping this will ensure that any splitting from the pith doesn't split the mushroom itself.

|
|
Figure 4 - I put the drive center off to one side
|

|
|
Figure 5 - ...so that the piece will be off-center on the lathe
|
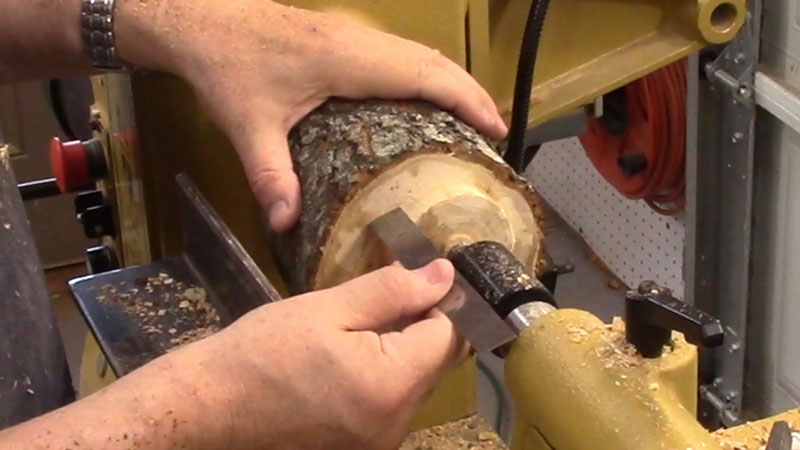
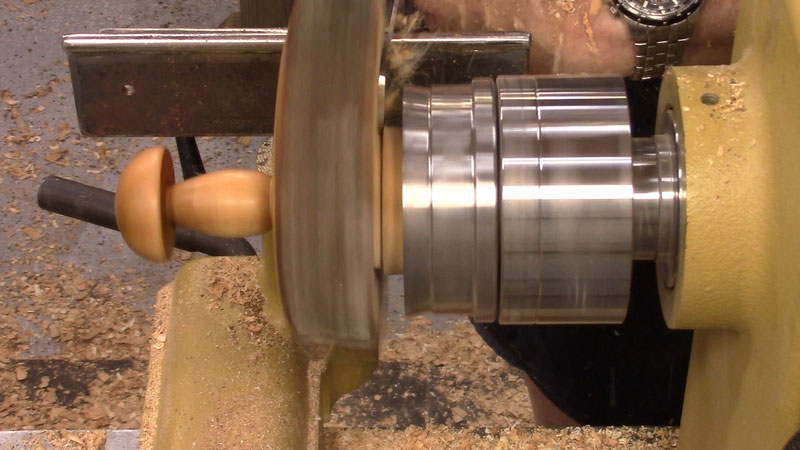
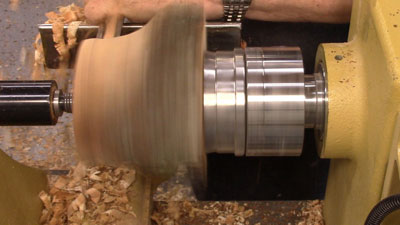
With the workpiece mounted off-center, the tenon I cut for chuck-mounting will be off-center as well.
|
|
Figure 6 - Turning a tenon to mount the blank in a chuck
|
I've turned the tenon 3/4" long, which is longer than I need. This will make it easier to turn off the tenon when I'm done, by pulling it out of the chuck by 3/8", leaving 3/8" still gripped in the chuck.

|
|
Figure 7 - I'm making the tenon 3/4" long
|
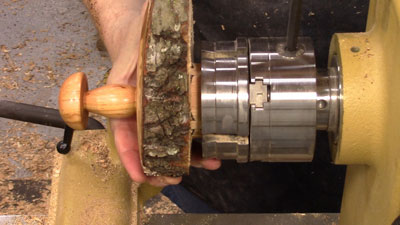
I'm using a
Record Power SC4 Chuck
(which I think is one of the best chucks I've ever bought) with 75mm (about three inches) jaws.
|
|
Figure 8 - That tenon is definitely off-center!
|
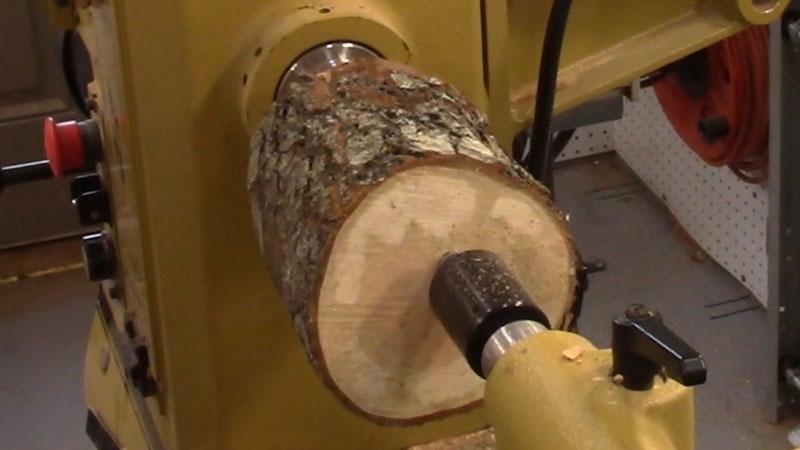
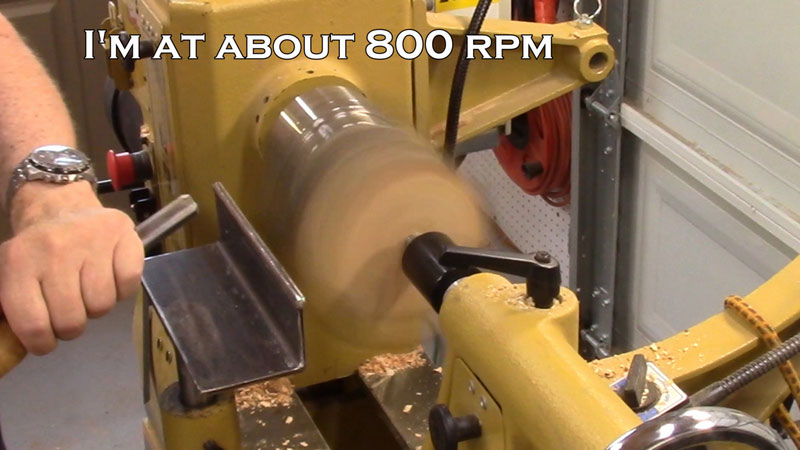
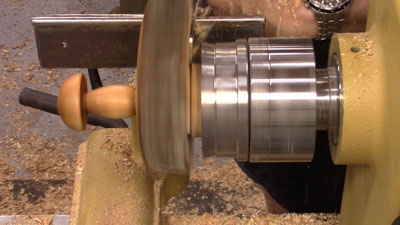
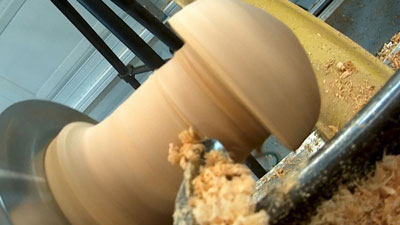
Although this blank isn't all that large, I still can't speed the lathe up too fast, because of the vibration from the off-center positioning. For this piece, the maximum I can get is about 800 rpm, and that's even pushing it a bit.

|
|
Figure 9 - My maximum speed at this stage is only 800 rpm
|
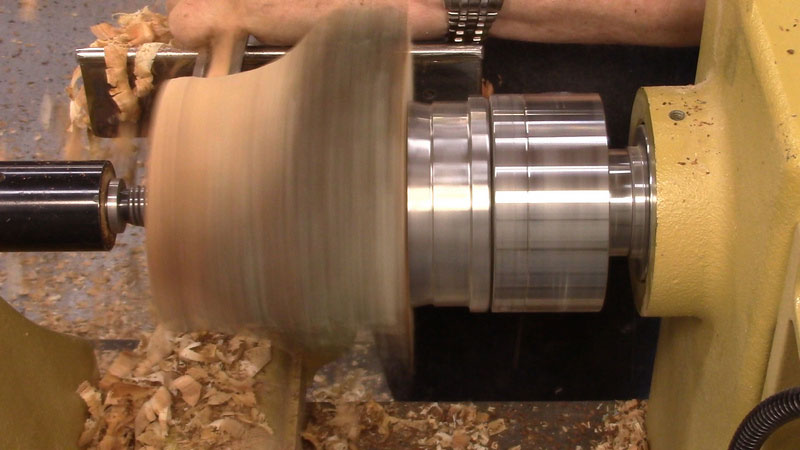
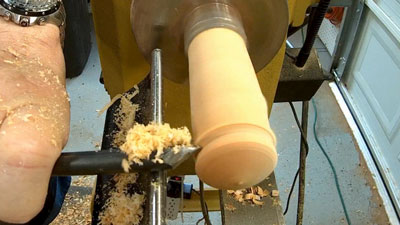
I start off with a
roughing gouge, turning the tailstock end down to round, leaving two to three inches of bark intact on the headstock end.
|
|
Figure 10 - I start off with a roughing gouge
|
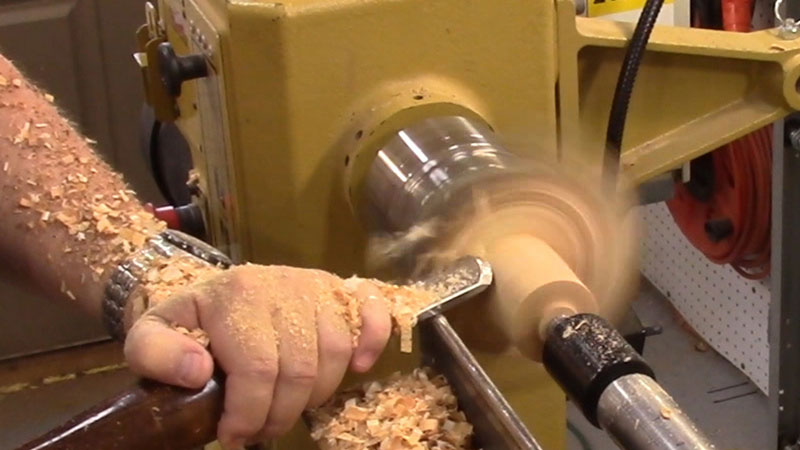
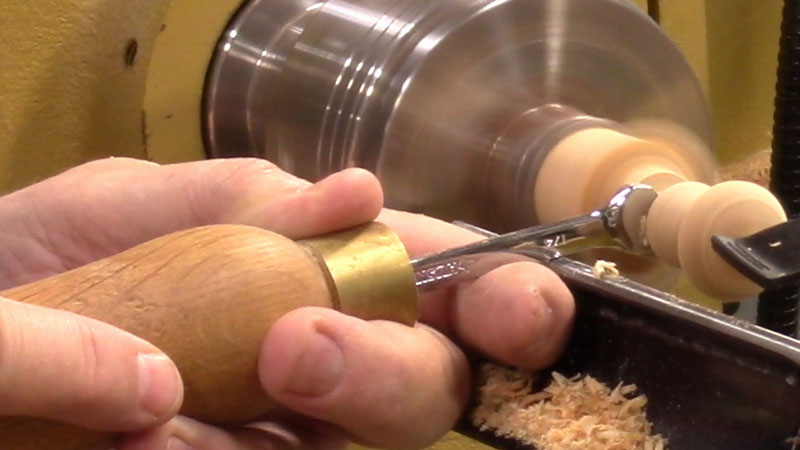
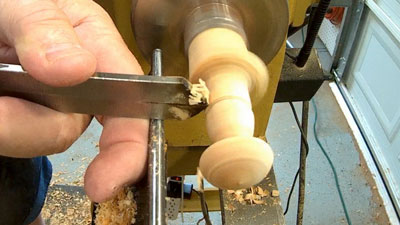
I switch to a
spindle gouge
to remove some more wood, then I switch to a skew to bring the mushroom part down to a proper mushroom-looking size.

|
Figure 11 - I bring the mushroom tenon down to size with
a peeling cut using a skew
|
I'm making the mushroom diameter about 1-3/4". The other two mushrooms that I turn (separately) will be smaller.

|
|
Figure 12 - I leave about 1-3/4" for the first mushroom
|
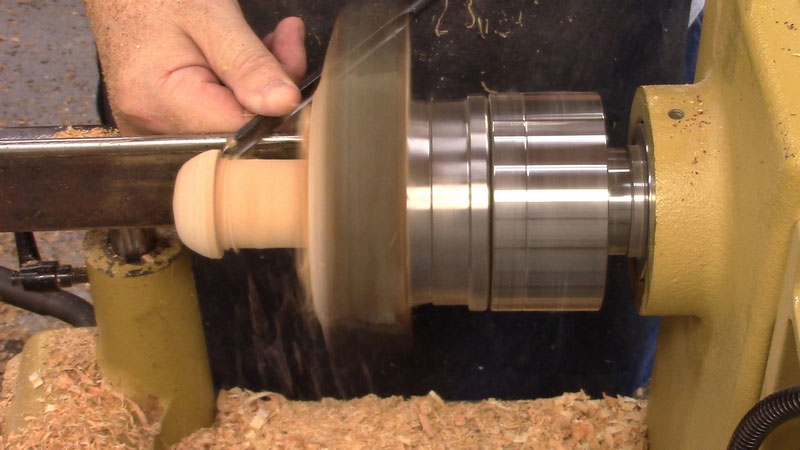
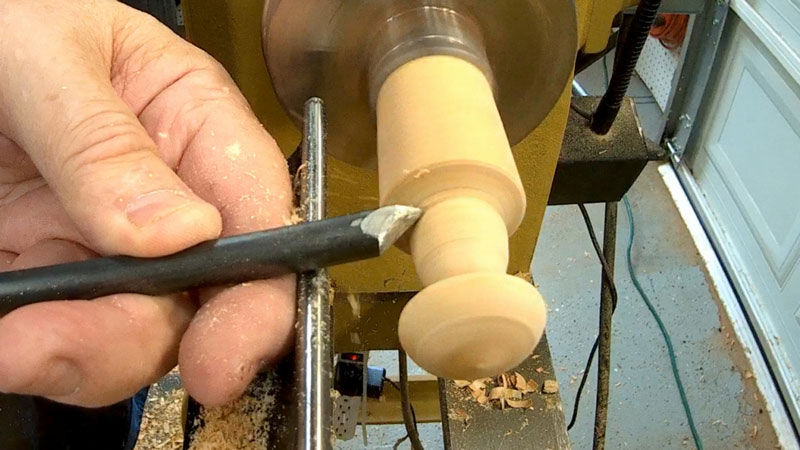
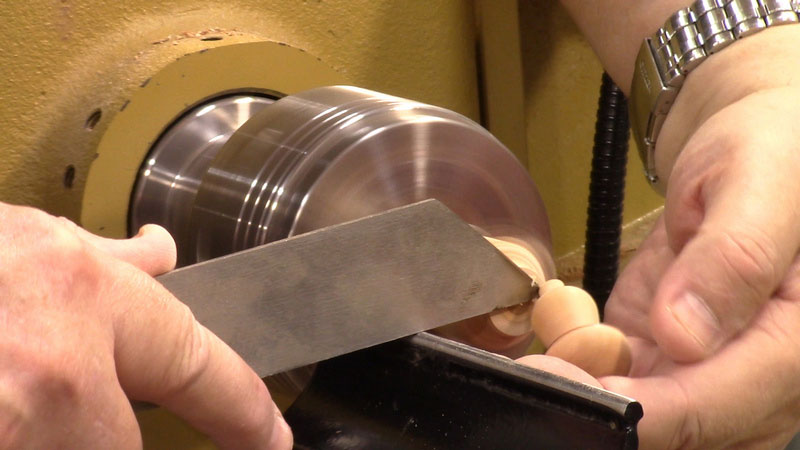
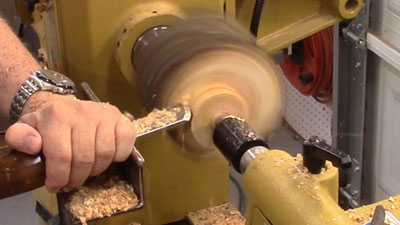
To shape the crown of the mushroom, I use a
3/8" spindle gouge, making the crown about an inch high.

|
Figure 13 - A 3/8" spindle gouge is just right for
shaping the mushroom crown
|
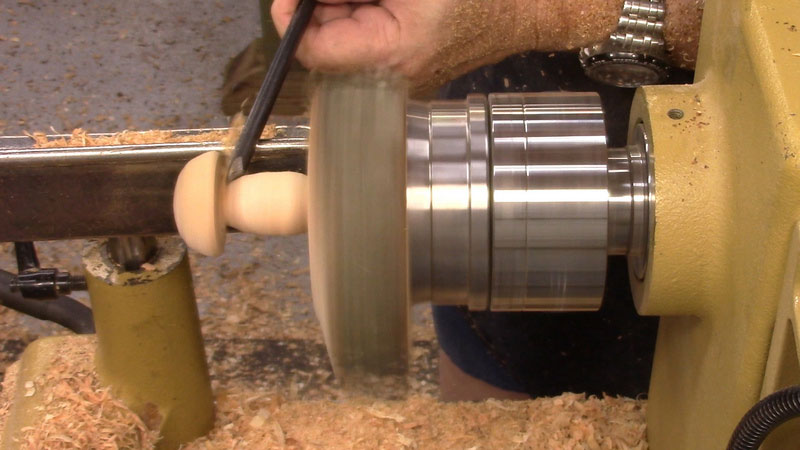
With the crown shaped, I start on the stalk.
|
|
Figure 14 - Turning the mushroom stalk
|
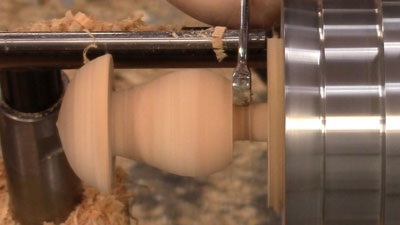
This is a dwarf mushroom, which everyone knows has a fat bottom (and only grows in Middle Earth).

|
Figure 15 - A dwarf mushroom's stalk has a fat bottom
and a narrow neck
|
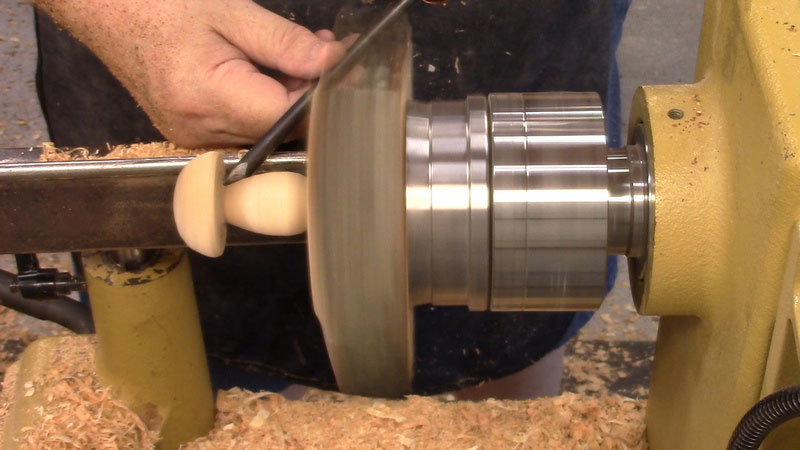
I narrow the top of the mushroom, and then undercut the bottom surface of the crown a bit (as is stipulated in the "Official Dwarf Mushroom Turner's Rulebook").

|
|
Figure 16 - This looks good to me
|
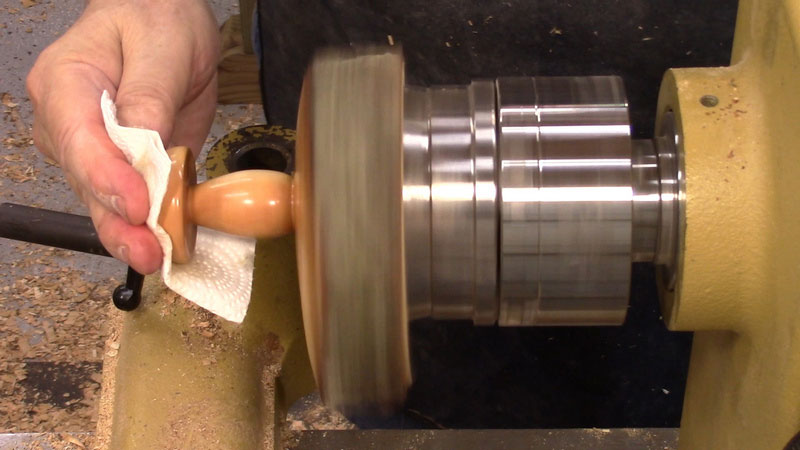
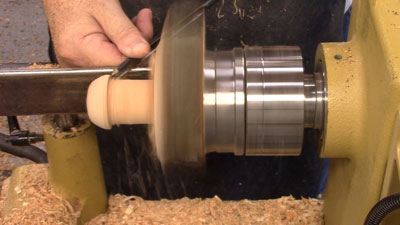
I don't expect this turning to be handled a lot, it's primarily decorative, so I'm going to use a
friction polish finish. Normally, this would yield a very shiny finish.
|
|
Figure 17 - Friction polish on a mushroom
|
However, on green wood, although the friction polish initially shines up, the moisture in the wood causes it to dull down rather quickly. I'll add a coat of wax later.

|
Figure 18 - The friction polish goes on shiny
but dulls quickly on green wood
|
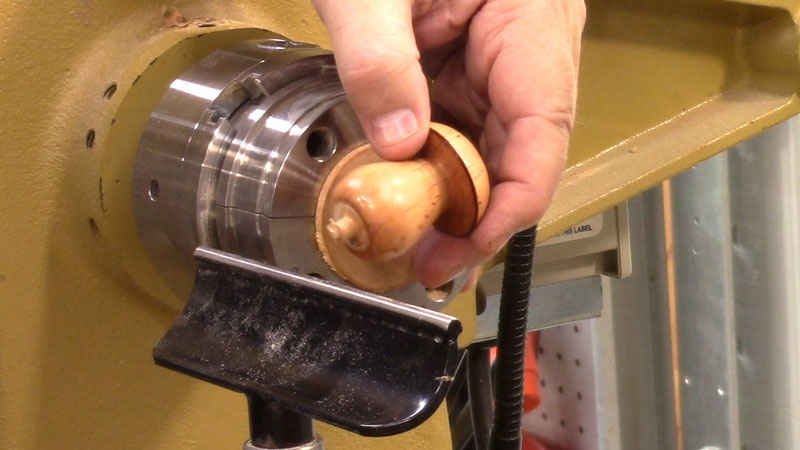
The basic mushroom is almost done. I pull the piece out of the chuck about 3/8" and tighten down the chuck again.
|
|
Figure 19 - Re-chucking to part off
|
It doesn't show all that well in the photo, but I'm using a
fluted parting tool
to part off the mushroomed log.
|
|
Figure 20 - Parting off the workpiece
|
With an off-center piece, I don't want to put my hand behind the spinning mushroom-of-death to catch it when I cut through. I stop cutting with about 1/4" of thickness left and twist it off.

|
Figure 21 - To avoid a tragic mushroom accident,
I stop parting at about 1/4"
|

|
|
Figure 22 - The first mushroom is done!
|
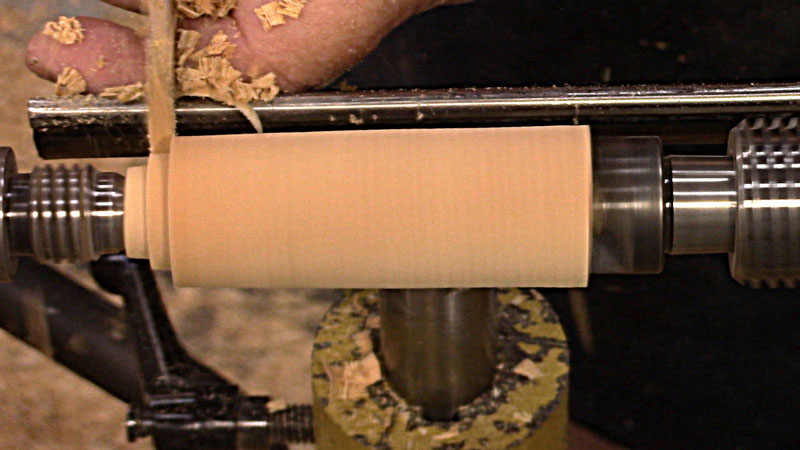
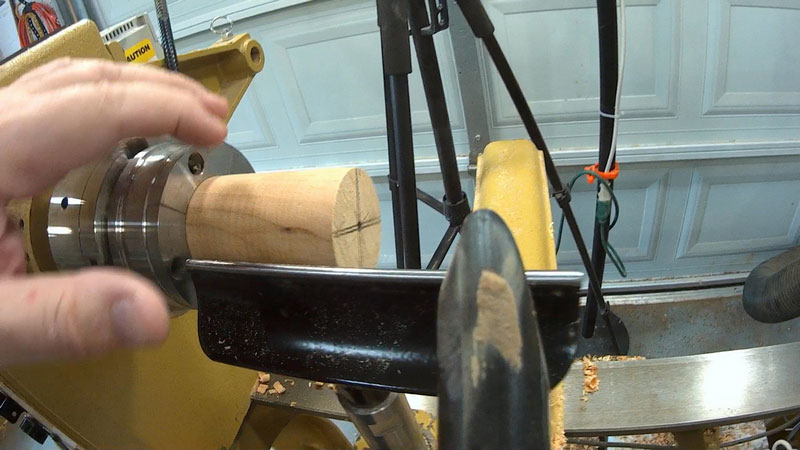
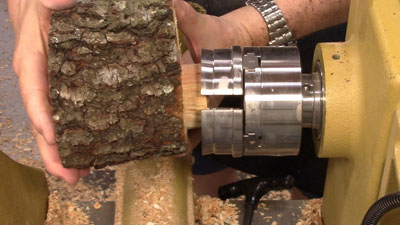
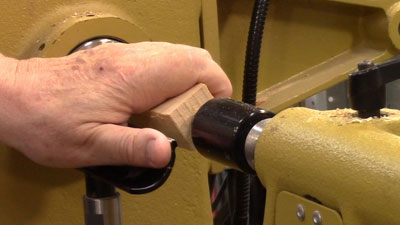
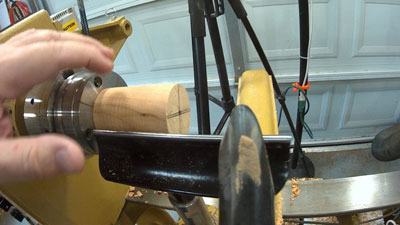
Now for the smallest mushroom. I'm using a block about 1" in cross-section and about 4" long.
|
|
Figure 23 - The blank for smallest mushroom is about 1" x 1" x 4"
|
|
|
Figure 24 - I bring it down to round with a 1" roughing gouge...
|

|
|
Figure 25 - ...and turn a tenon on one end for chuck mounting
|
With the blank now mounted in a chuck with 25mm jaws, I start shaping the crown of the mushroom and then the stem.
|
|
Figure 26 - Beginning to shape the small mushroom
|
Like the main mushroom (alpha mushroom? number one mushroom?), I make this one with a "dwarf mushroom" shape, i.e. fat at the bottom.

|
|
Figure 27 - Shaping the mushroom
|
However, unlike the alpha mushroom, I cut a 1/4" tenon at the base. This will be used to mount it on the log end.
|
|
Figure 28 - Starting a 1/4" tenon on the end
|
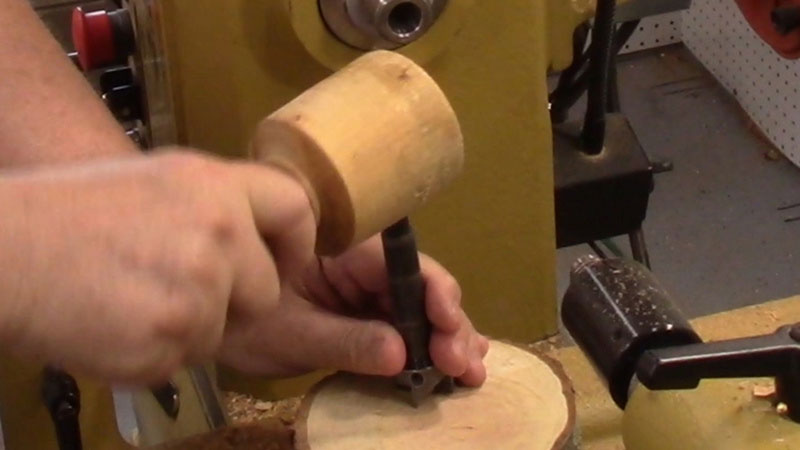
To size the tenon easily and quickly, I use my tenon cutter made from a 1/4" open-end wrench.

|
|
Figure 29 - Finishing the tenon cut with a dedicated tenon cutter
|
Finally, I part it off with a narrow parting tool.

|
|
Figure 30 - Parting off the small mushroom
|
Now for the middle-size mushroom – same dwarf mushroom shape, starting from a blank about 2" long and 1-1/2" in diameter.
|
|
Figure 31 - The blank for the middle-size mushroom
|
|
|
Figure 32 - Cutting the mushroom's crown…
|
|
|
Figure 33 - ...and the stalk
|
|
|
Figure 34 - …and finally a 1/4" tenon
|
|
|
Figure 35 - The finished middle-size mushroom
|
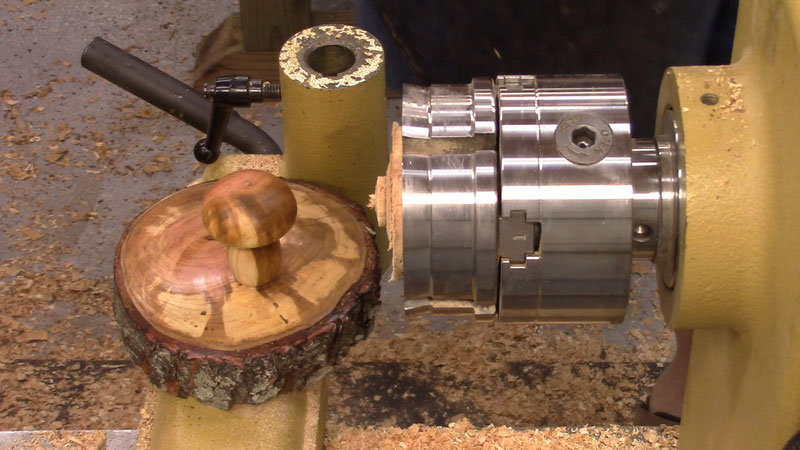
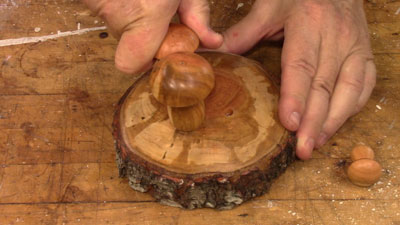
Now it's assembly time! I position the mushrooms in a staggered pattern on the log end.

|
|
Figure 36 - Arranging the mushrooms
|
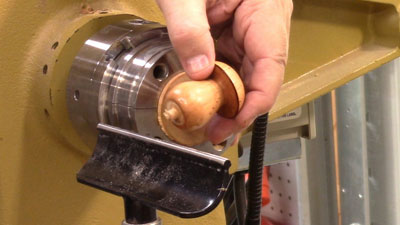
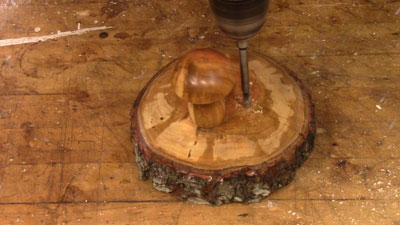
Then I drill two 1/4" holes about 3/8" deep. The depth just needs to be more than the length of the tenon on the mushroom.
|
|
Figure 37 - Drilling a mounting hole
|
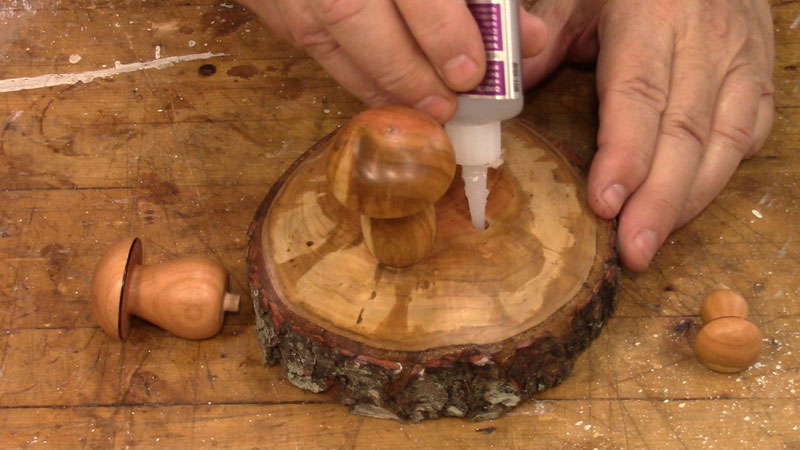
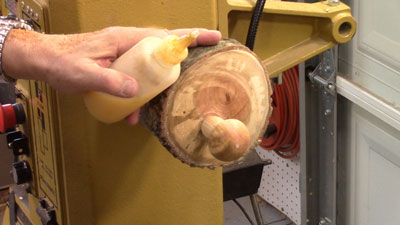
I use medium-viscosity
CA glue.

|
|
Figure 38 - Putting some CA glue in the mounting holes…
|
|
|
Figure 39 - Inserting the mushroom's tenon
|
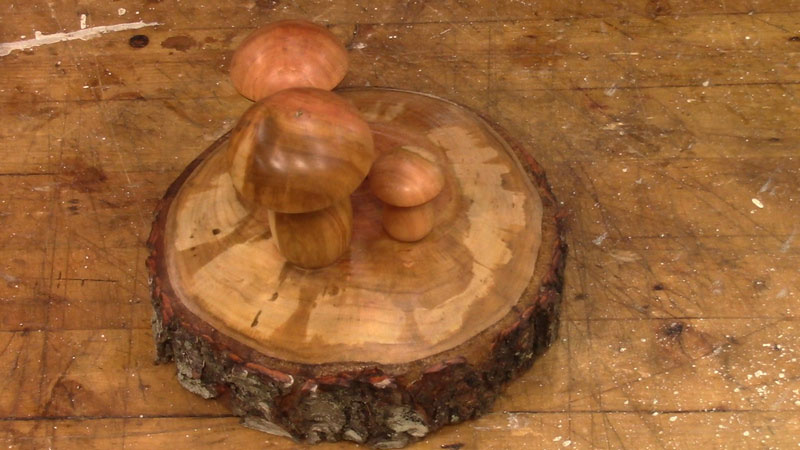
And that's it! It really is a quick and easy project – well, maybe not so quick, but it's easy. And it looks great when done. (Warning! Do not try to use these mushrooms in soup!)

|
|
Figure 40 - Done!
|
If you have any questions you can email Rick at
rickandcathymorris@gmail.com.
Return to
The Highland Woodturner
front page
|