Tips From Sticks-In-The-Mud Woodshop
by Jim Randolph
Long Beach, Mississippi
Click on any picture to see a larger version.
Welcome to "Tips From Sticks-In-The-Mud Woodshop". I am a hobbyist, not a professional, someone who loves woodworking, just like you do. I have found some better ways to accomplish tasks in the workshop and look forward to sharing those with you each month, as well as hearing your problem-solving ideas.
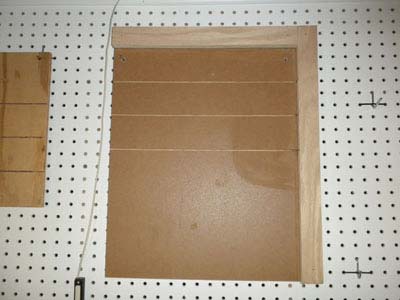
Tip #1
A square corner has a million uses.
The one pictured serves as a jig for slapping together anything square and includes saw kerfs appropriately spaced for cutting a sheet of sandpaper into quarter-sheets for a sanding block.

|
|
The first incarnation of this jig had no borders. It worked great for cutting sandpaper, but it couldn't multitask.
|
Here's how to make it.
First, find a scrap of plywood at least 14"x14" (or at least bigger than a sheet of sandpaper). Use plywood that is stable because warping is unacceptable for this jig. MDF is stable, but heavy, as is 3/4" plywood, so I chose a scrap 1/2" MDO as a compromise.
|
|
Be careful to avoid warped or unstable substrates. I had already cut the kerfs in this one and thought "That's stupid! What a waste of my time to continue with this defective piece of material."
|
Cut some plywood strips about 1 to 1-1/2" wide and the dimensions of two sides of your plywood base. (Solid wood is acceptable, but may want to move against its plywood base during seasonal temperature and humidity changes.)
|
|
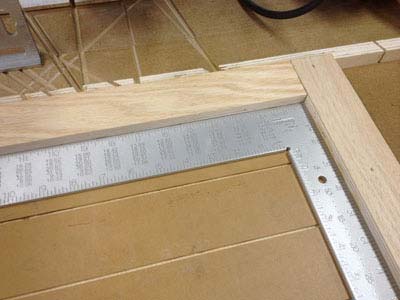
We cannot overemphasize the importance of accuracy and squareness in this project. Take your time, or everything you make with this jig will suffer the same degree of error.
|
Mark the margins of the plywood surround on two sides, but don't attach them yet.
|
|
Be sure to keep track of which piece goes on the side and which one attaches to the top. A slight difference in the two will translate to sandpaper strips that won't fit your sanding blocks.
|
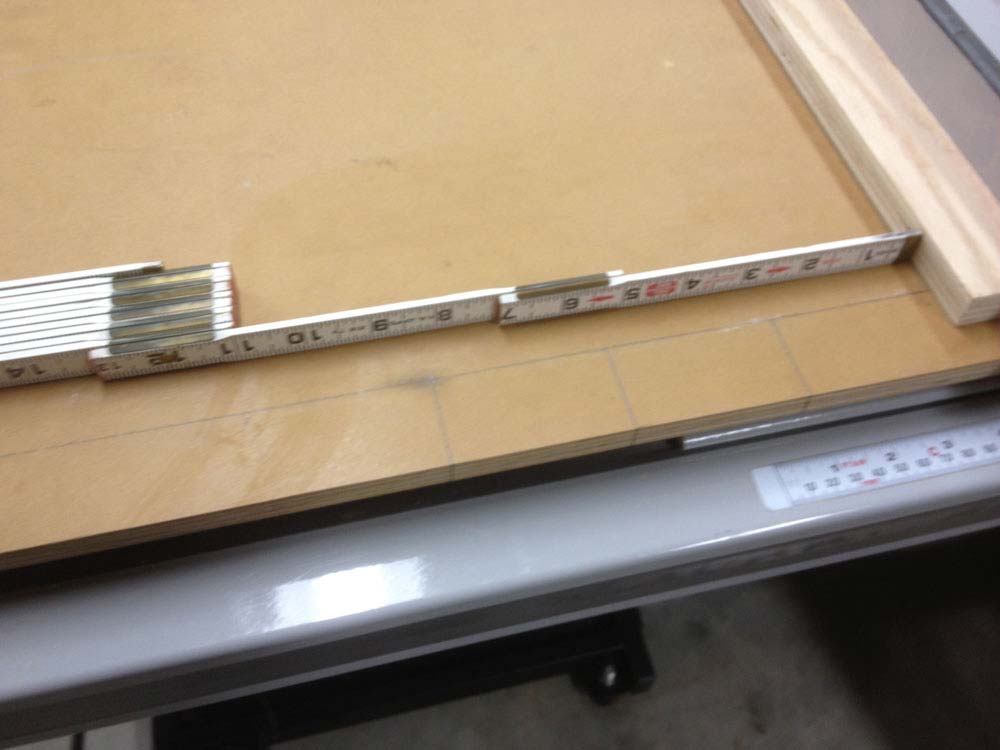
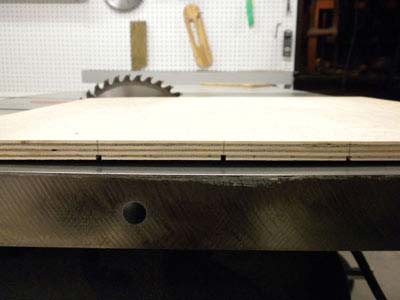
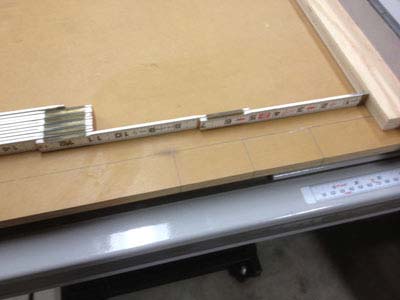
From the edges of the side surround, measure three lines 2-3/4" apart, see photo below.
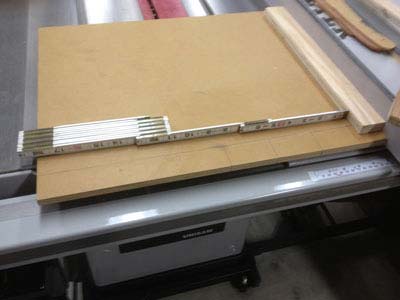
|
|
Here, I locked down the table saw fence, pushed the jig and its border hard up against it, then marked where the kerfs should go.
|
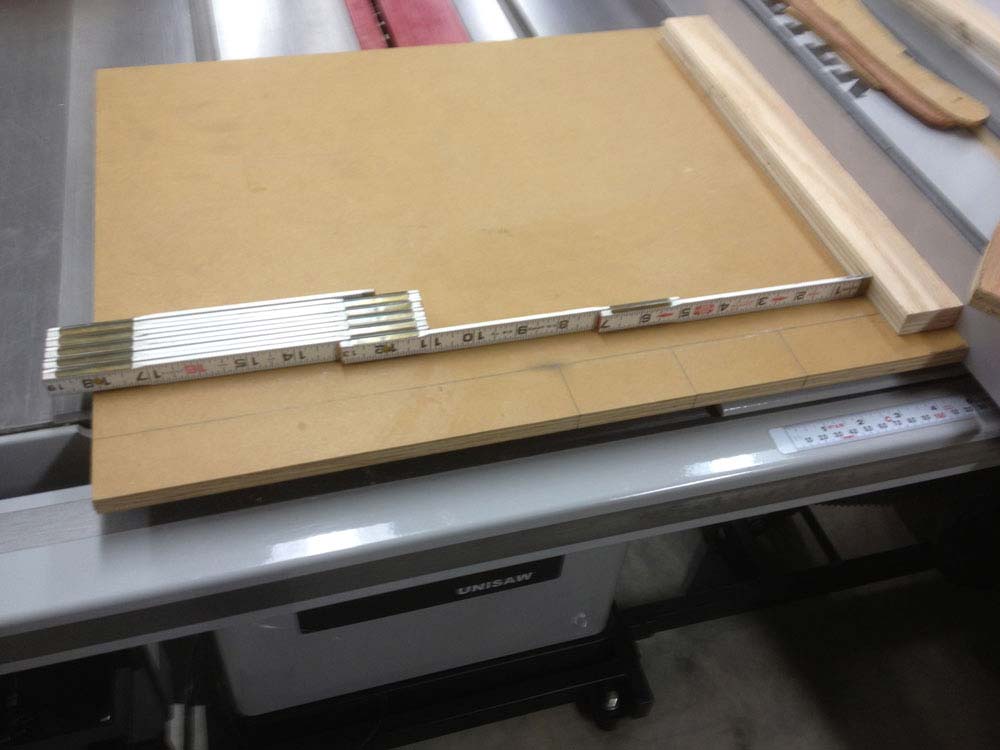
Transfer those marks to the other side of the plywood base and adjust your table saw fence so that the blade is centered on the mark, as shown in the photo below.

|
|
Again, take your time to perfectly center the blade’s teeth on the marks.
|
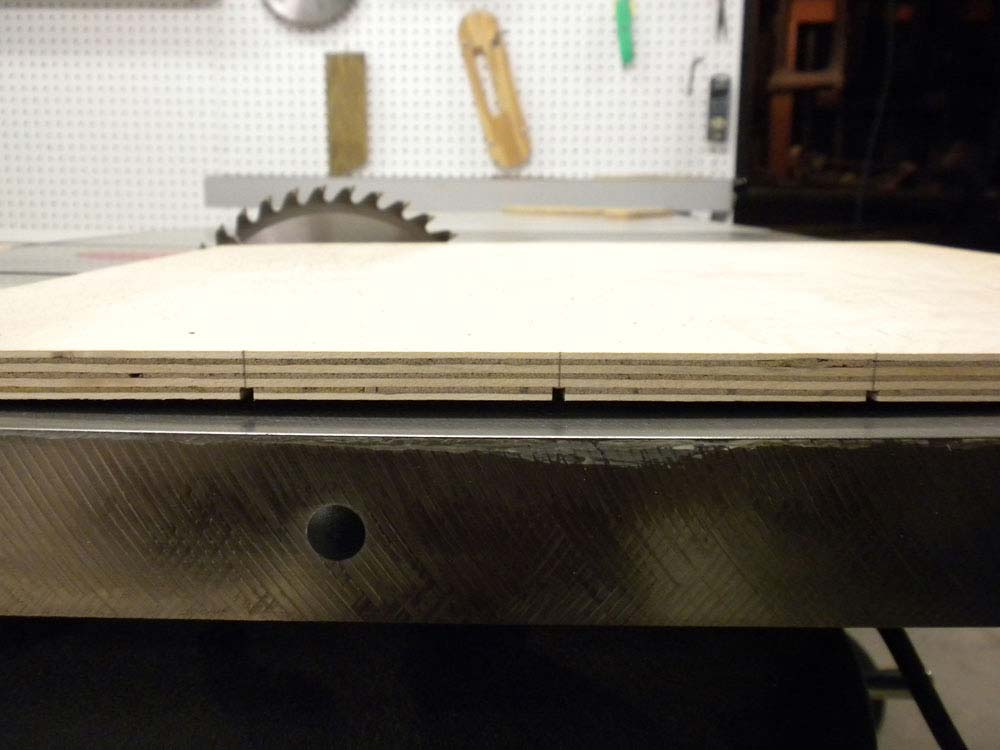
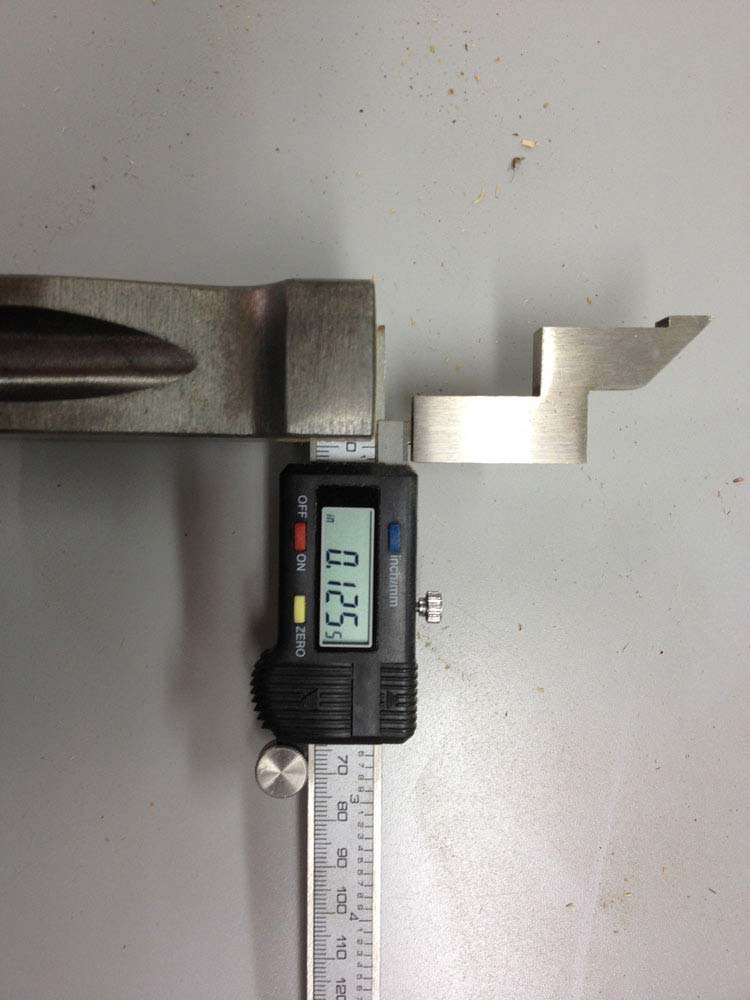
Set your blade height at 1/8".
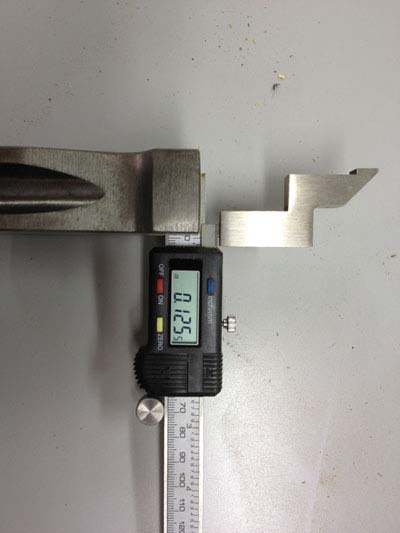
|
|
I LOVE my little blade height gauge. When you need kerf depth accuracy, this one gives it to you to three decimal places!
|
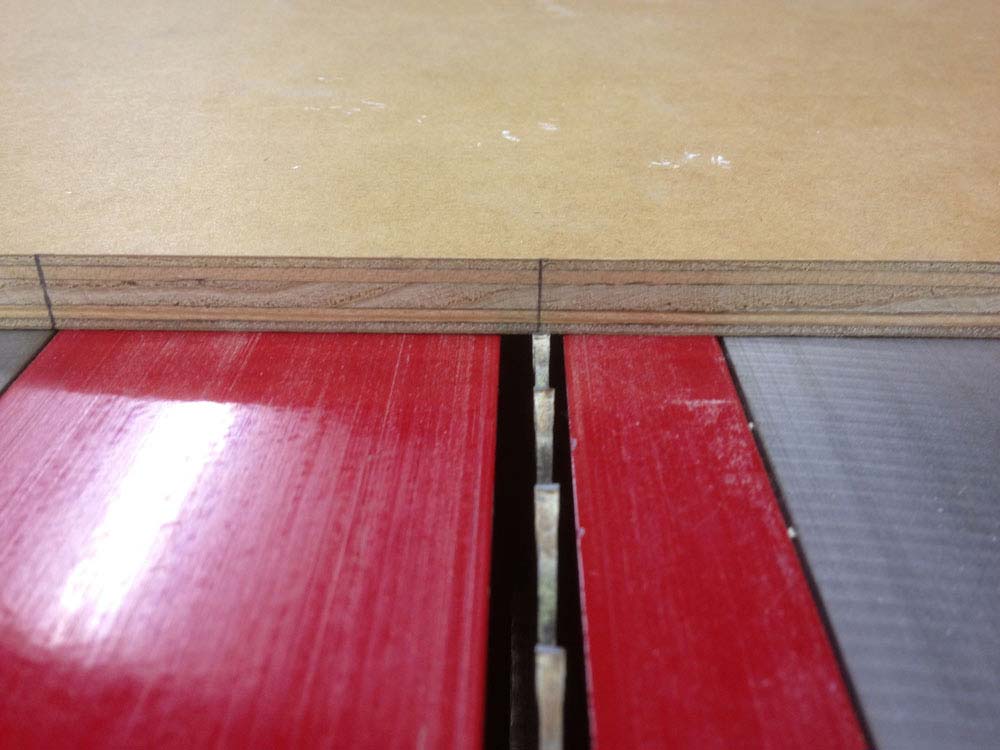
Deeper and you may introduce instability in the base plywood. Shallower and you may have difficulty keeping your knife in the groove as you cut your sandpaper. Make three kerf cuts.
|
|
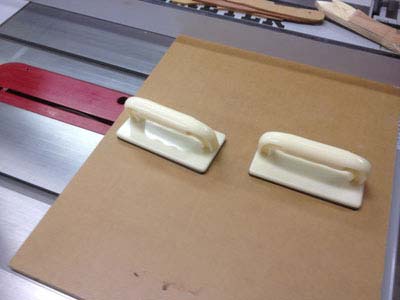
Use your push blocks! Of course, the blade is not SUPPOSED to come all the way through, but what if something goes horribly wrong?
|
Install one of the 1-1/2" plywood strips along one edge, parallel to and 2-3/4" from the first saw kerf, as shown below.
|
|
In my shop the radial arm saw’s fence put me in better position for this assembly, the only reason I moved from the table saw.
|
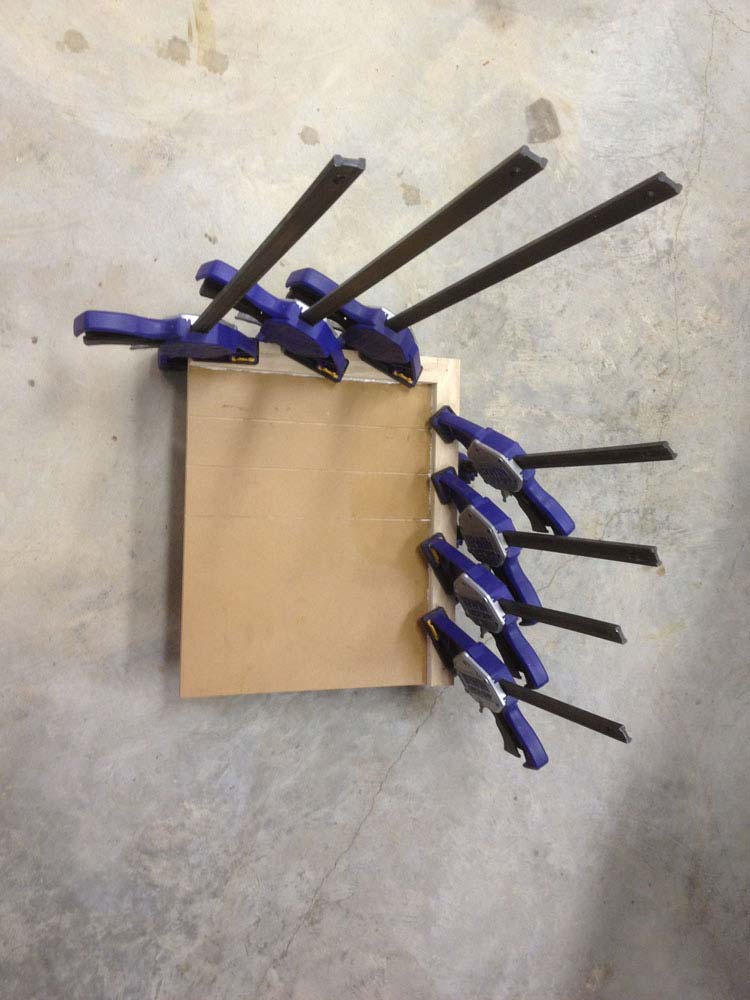
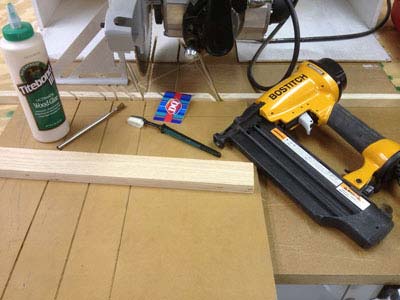
I used both nails and glue, but then again, one of my nicknames is Lt. Overkill. Ensuring perfect squareness, install the other strip perpendicular to the first and parallel to the saw kerfs. Clamp as desired and wipe any glue squeezeout.
|
|
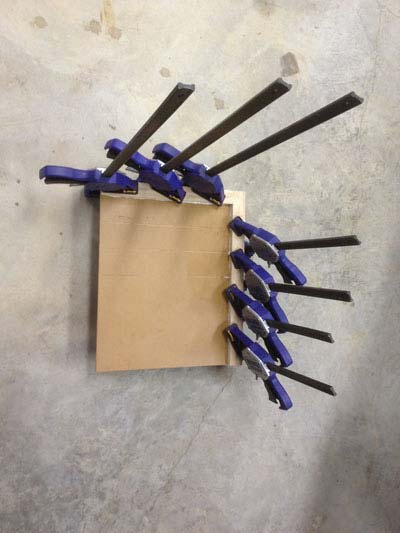
Nails, glue plus clamps for three days. You think that's too much?
|
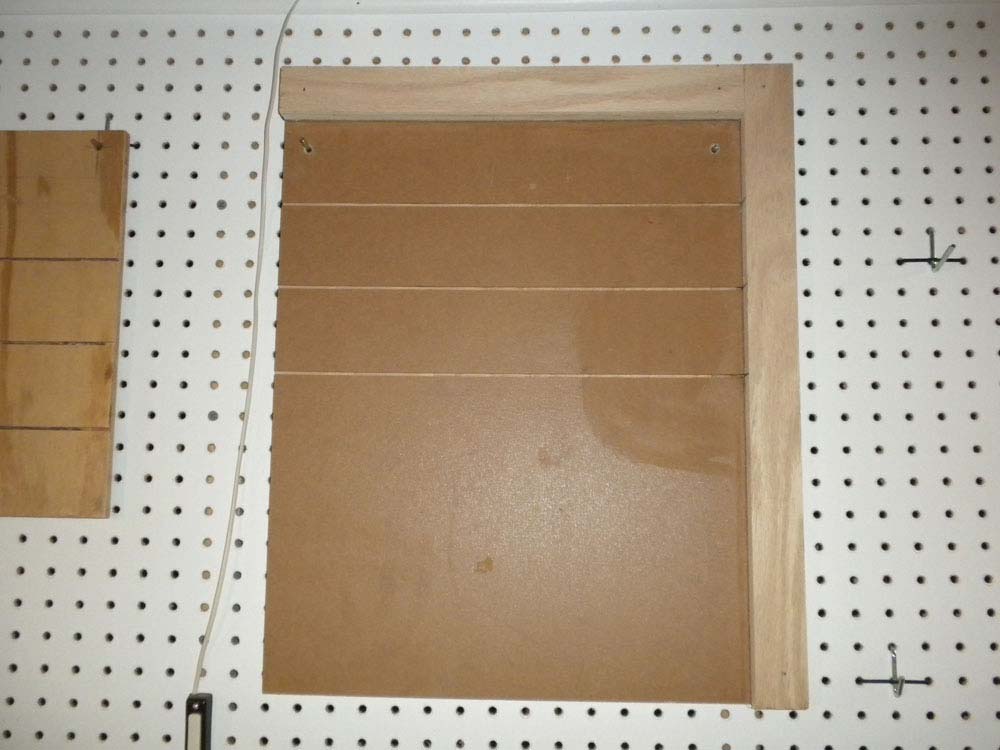
Use as many clamps as I did and leave it in the clamps for three days and I'll let you join The Lt. Overkill Club! A couple of holes, cleaned up with a countersink bit on both sides and you can hang your jig on pegs until you are ready for it.
|
|
I'm blessed with an out-of-the-way place to hang the jigs I don't use often.
|
Which won’t be long!
|
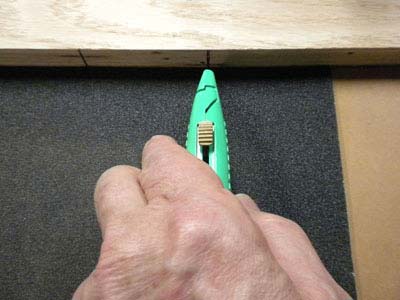
|
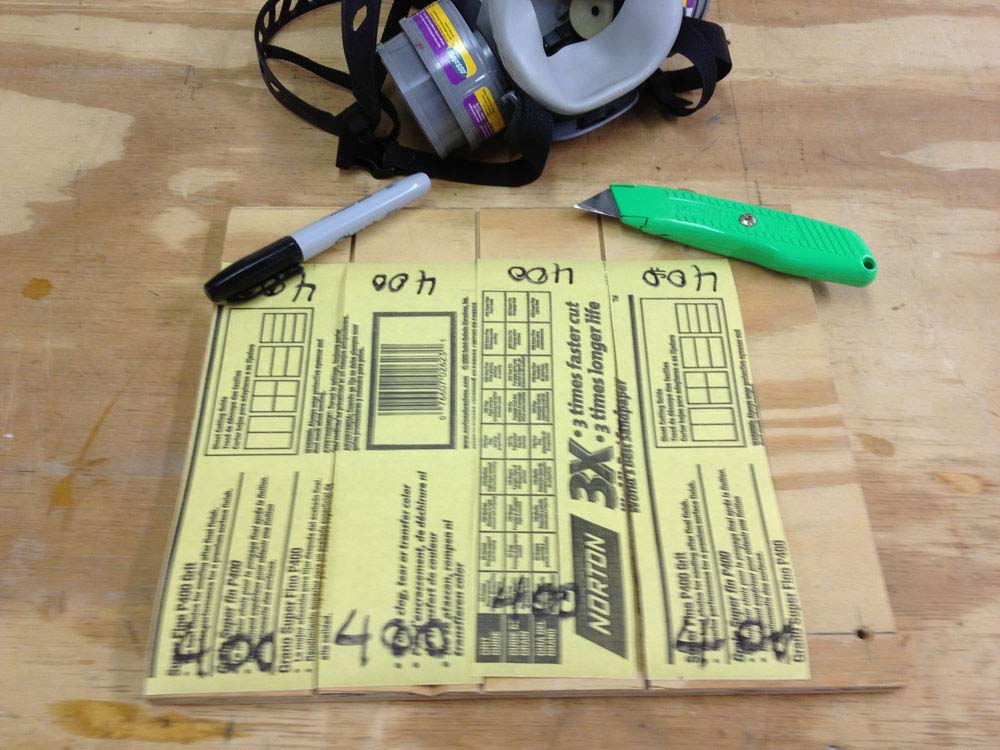
Notice the Sharpie lines directing the retractable-blade knife. Once the sandpaper is in place you won't be able to locate the kerfs without them.
|
Tip #2
No Southern-fried Southern boy wants to be called a Yankee, but we share the characteristics of shrewdness and thrift. Thus, each month we include a money-saving tip. It’s OK if you call me "cheap."
After you cut your sandpaper into strips for your quarter-sheet sanding block, take a moment to mark the grit on both ends of each piece with a Sharpie. When the exposed part of the quarter-sheet is worn out or clogged up, cut off the ends that can be used for sanding small or tight areas.

|
|
Trying to figure out the grit of scraps of sandpaper by color or partial barcode is a real drag on your valuable time. Take a few seconds to mark all 8 scrap ends.
|
By pre-marking them, you will know exactly what the grit is.
Jim Randolph is a veterinarian in Long Beach, Mississippi. His earlier careers as lawn mower, dairy farmer, automobile mechanic, microwave communications electronics instructor and journeyman carpenter all influence his approach to woodworking. His favorite projects are furniture built for his wife, Brenda, and for their children and grandchildren. His and Brenda’s home, nicknamed Sticks-In-The-Mud, is built on pilings (sticks) near the wetlands (mud) on a bayou off Jourdan River. His shop is in the lower level of their home. Questions and comments on woodworking may be sent to
DrRandolph@MyPetsDoctor.com
. Questions about pet care should be directed to his blog on pet care,
www.MyPetsDoctor.com
. We regret that, because of high volume, not all inquiries can be answered personally.
Return to
Wood News
front page